
How to Apply Keiki Paste - A Step-By-Step Guide
Table of Contents
- Step 1: Assess and address the health of the mother plant
- Step 2: Identify the nodes
- Step 3: Choose your node(s) to apply keiki paste
- Step 4: Score the node
- Step 5: Apply keiki paste
- Step 6: Note where you applied the paste
- Step 7: Continue providing optimal growing conditions
- Step 8: Monitor progress and wait!
- How to use keiki paste on orchids
- How to use keiki paste on other plants
Watch this video to see how to apply keiki paste to houseplants or read on. Looking for instructions on how to apply keiki paste to orchids? Read this.
Before applying, learn what keiki paste is and how it works.
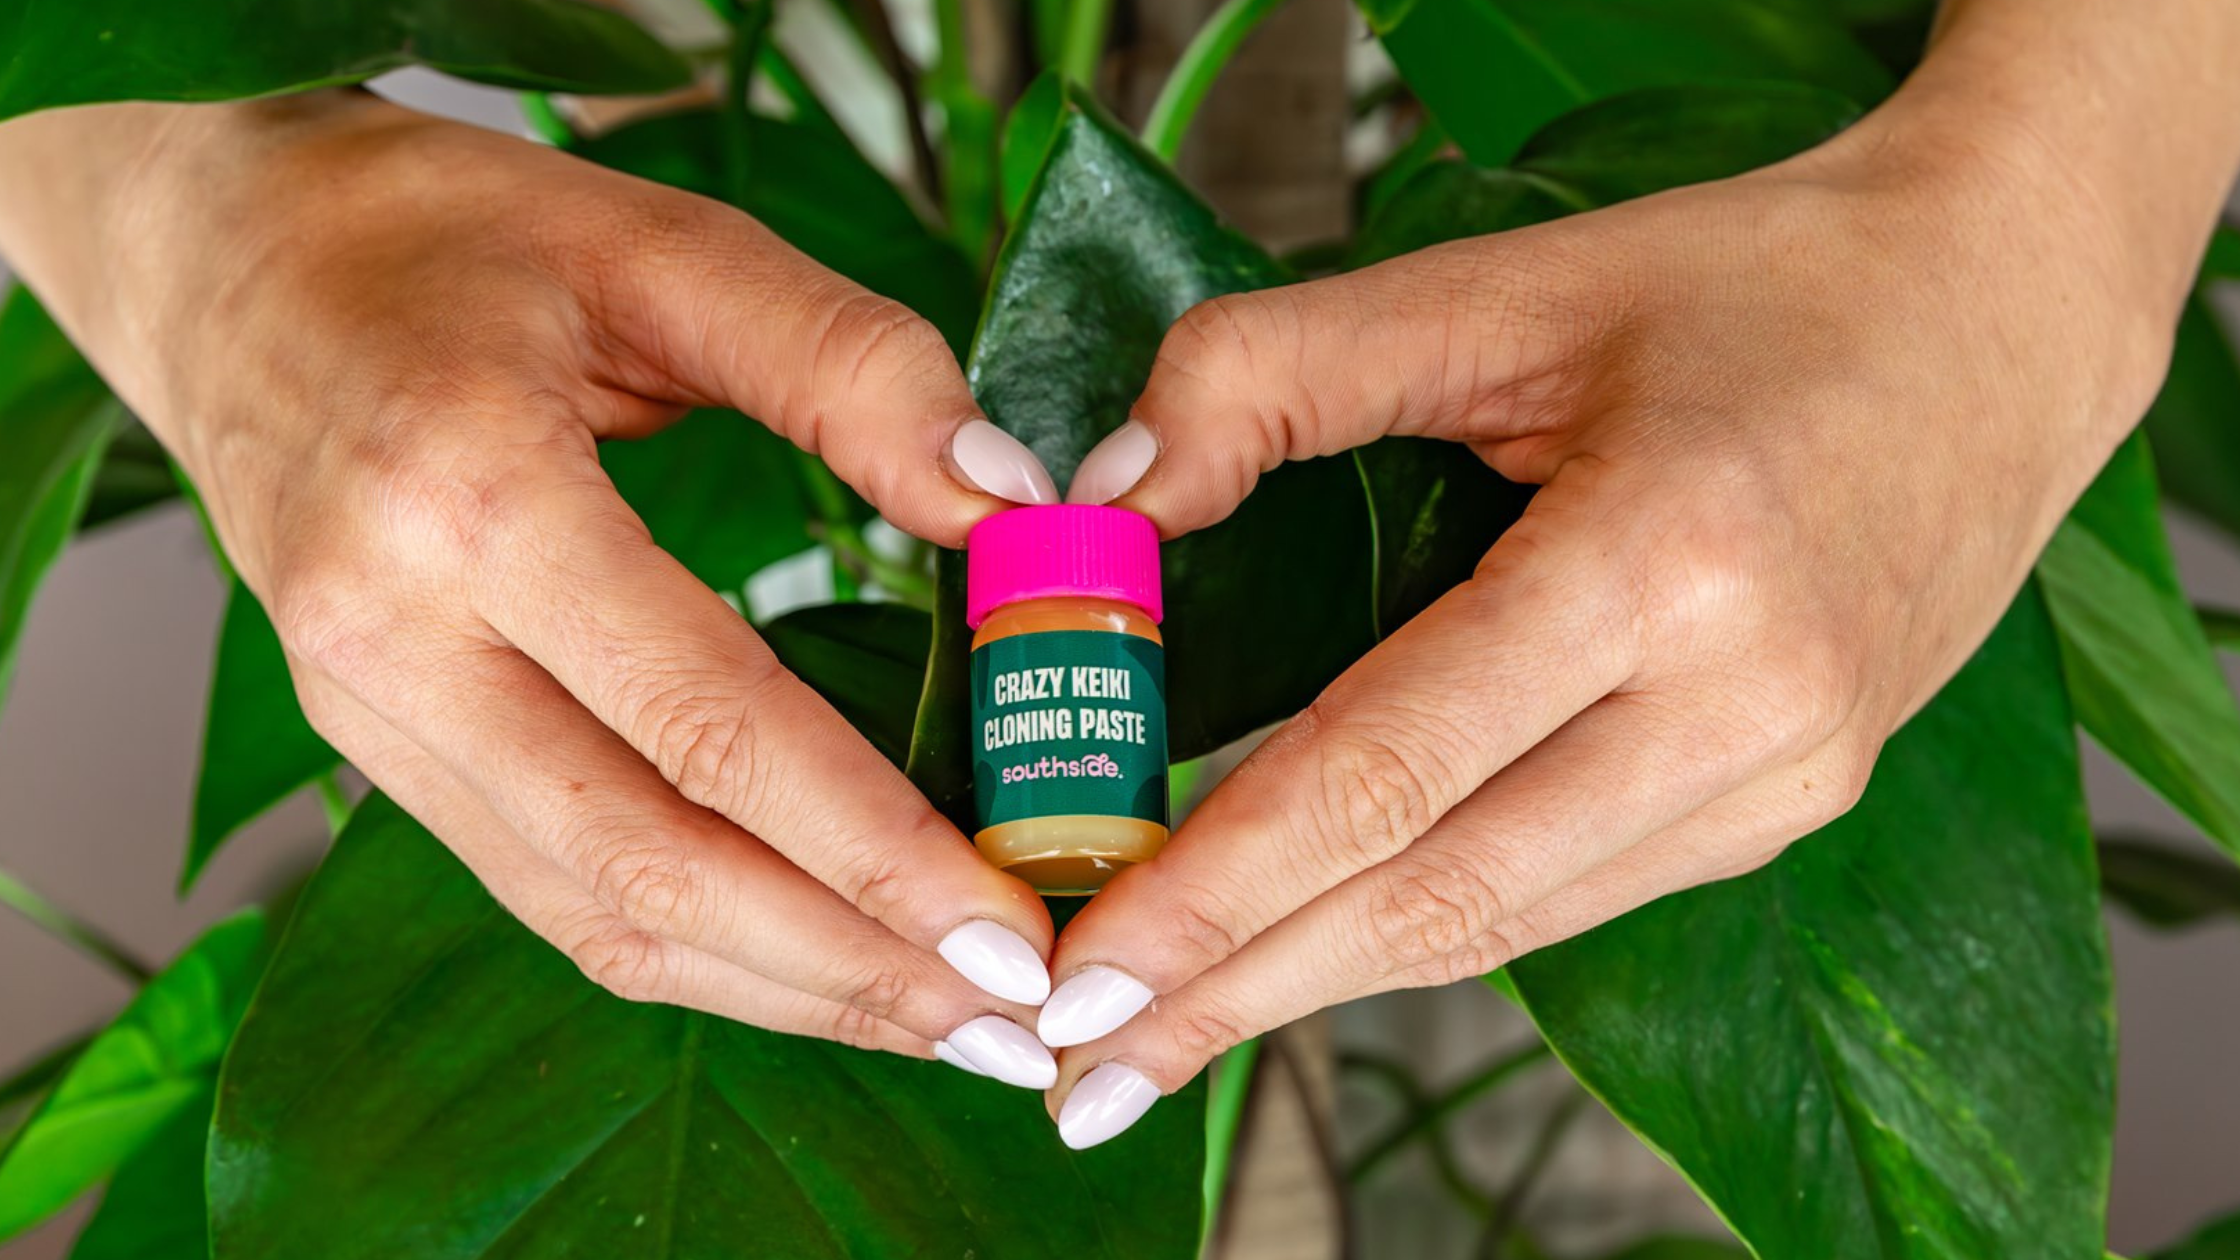
Keiki paste is a fun and seemingly magical goo used to clone orchids, create new orchid blooms, and generate new growth on just about any healthy houseplant. Keiki paste works by using a plant growth hormone called cytokinin to bio-hack a plant's dormant nodes, encouraging those nodes to activate and sprout new vegetation.
Applying keiki paste is simple, but we recommend reading through the instructions to avoid commonly missed steps and to set up your plant for the most successful new growth possible.
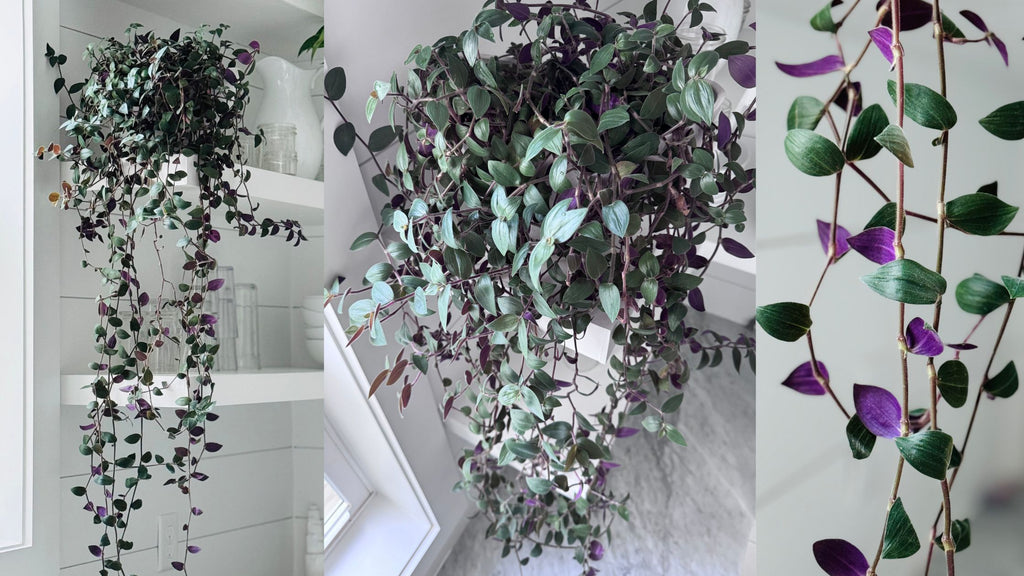
In this post we demonstrate how to apply keiki paste and get results on a baby bunny bellies plant and we also provide a video on how to apply keiki paste to orchids.
Step 1: Assess and address the health of the mother plant
Assessing your plant's health is the most crucial and overlooked step of using keiki paste. Before applying keiki paste, ensure the plant on which you want it is healthy and in a growth cycle. There should be no signs of disease or pests on the leaves, roots, or soil.
You can still use keiki paste in the winter, but if your plant seems dormant, try adding a grow light, keep your plant in a slightly warmer spot, and pay extra attention to the humidity in the dry winter air.
Do not use keiki paste on a sad, unhealthy plant, as it likely won't have the vitality and resources to support new growth.
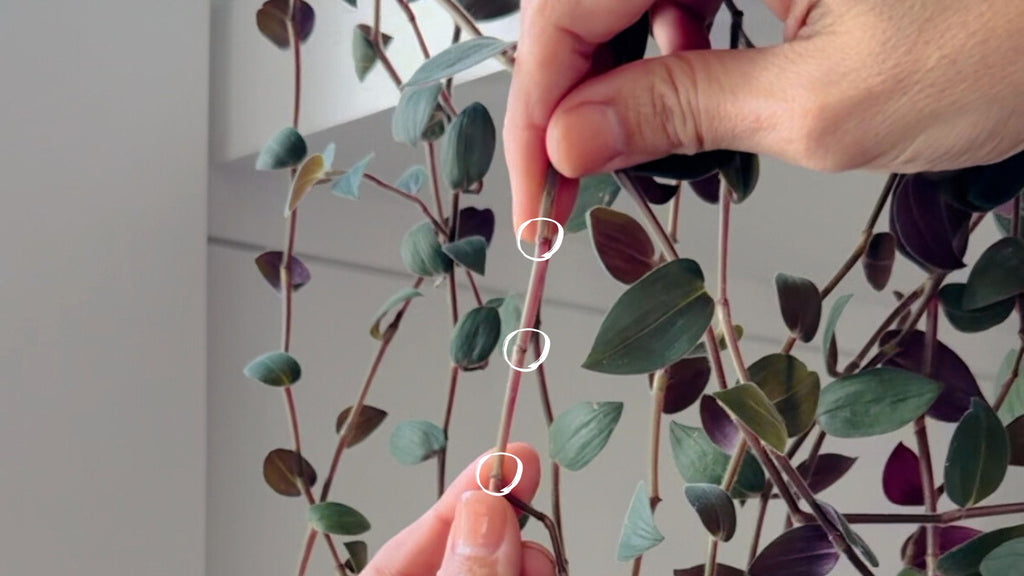
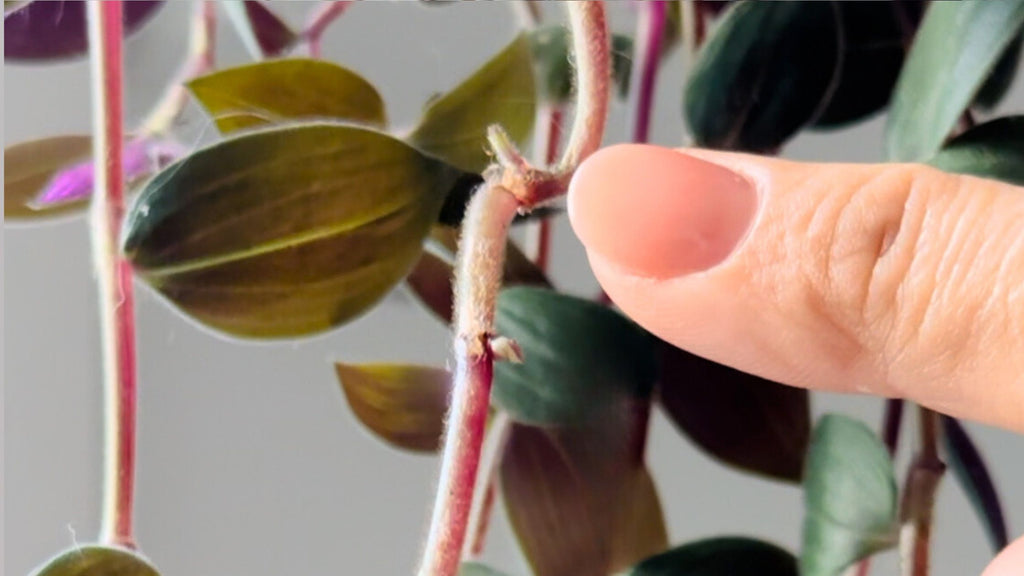
Step 2: Identify the nodes
Now that you've chosen a healthy plant, the next step is identifying its nodes. Nodes are the part of the plant where leaves and stems emerge and where your new keiki will grow. Depending on the plant, there is usually a thickening or joint in this area. You can check out this article on identifying nodes for a more in-depth explanation and this keiki paste tutorial which shows nodes on many common houseplants.
Step 3: Choose your node(s) to apply keiki paste
Choose a bare node without any existing growth. Generally speaking, nodes closer to the soil will have access to more energy for growth, so you may want to focus there.
If you're using keiki paste on orchids, you can apply some paste to the nodes higher up on the flower spike to encourage more blooms and lower down on the leaf nodes to encourage your plant to make a WHOLE NEW BABY ORCHID (aka - a keiki!).
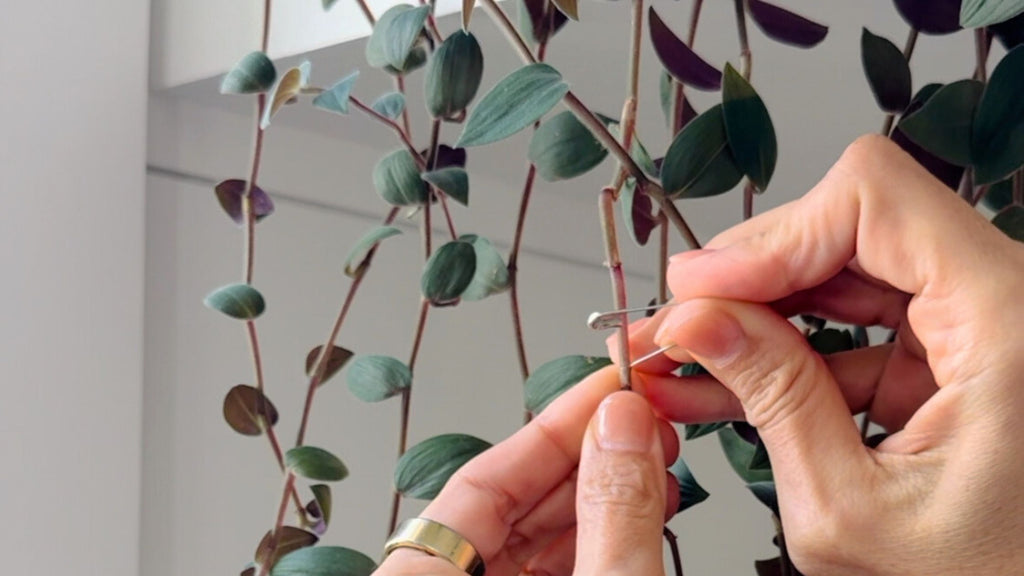
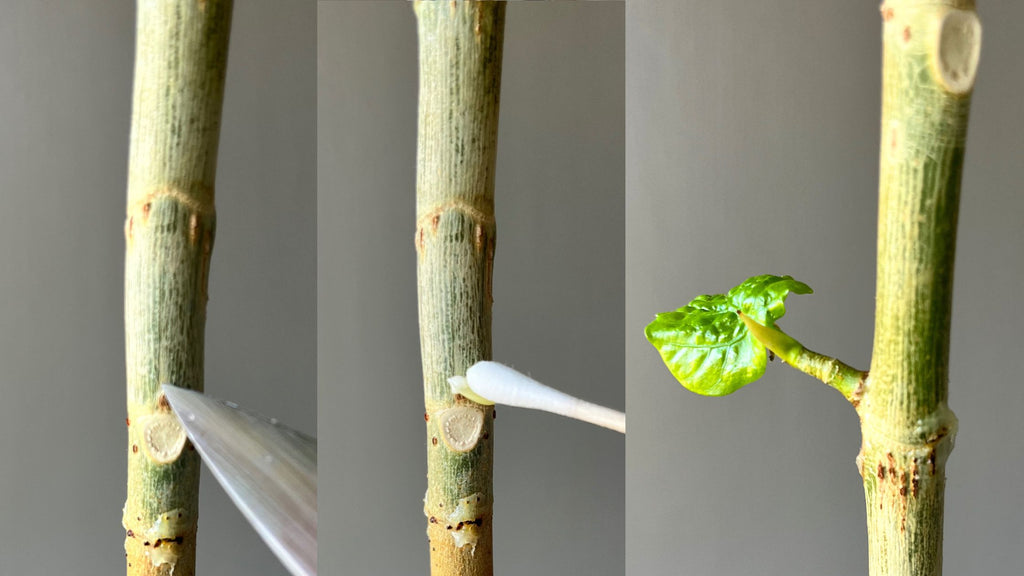
Step 4: Score the node
Scoring the node is the other most commonly forgotten step when learning how to apply keiki paste. This step creates a gentle scratch or tiny notch that allows the paste to work deeper and access the cells it needs to interact with to encourage growth.
Scoring the node is easy, but you must be careful not to damage the plant. Depending on the heartiness of the stem and node, you can choose your instrument: a clean safety pin, toothpick, sharp knife, or even your fingernail.
For hearty and/or woody stems, you must ensure the surface of the node is sufficiently abraded otherwise the paste will not penetrate.
With plants like monstera and pothos, sometimes application alone is sufficient for the paste to be absorbed; however, gentle scoring is usually recommended.
For plants with very thin stems, like a string of hearts you can skip the scoring and just add the paste. Or use a pin to make a tiny hole.
Once you’ve chosen your implement, gently remove a tiny layer or make a small hole or cut in the node. Avoid cutting so deeply as to damage the plant, and instead think about creating an access point for the paste. Once your node is scored, it's ready for keiki paste application.

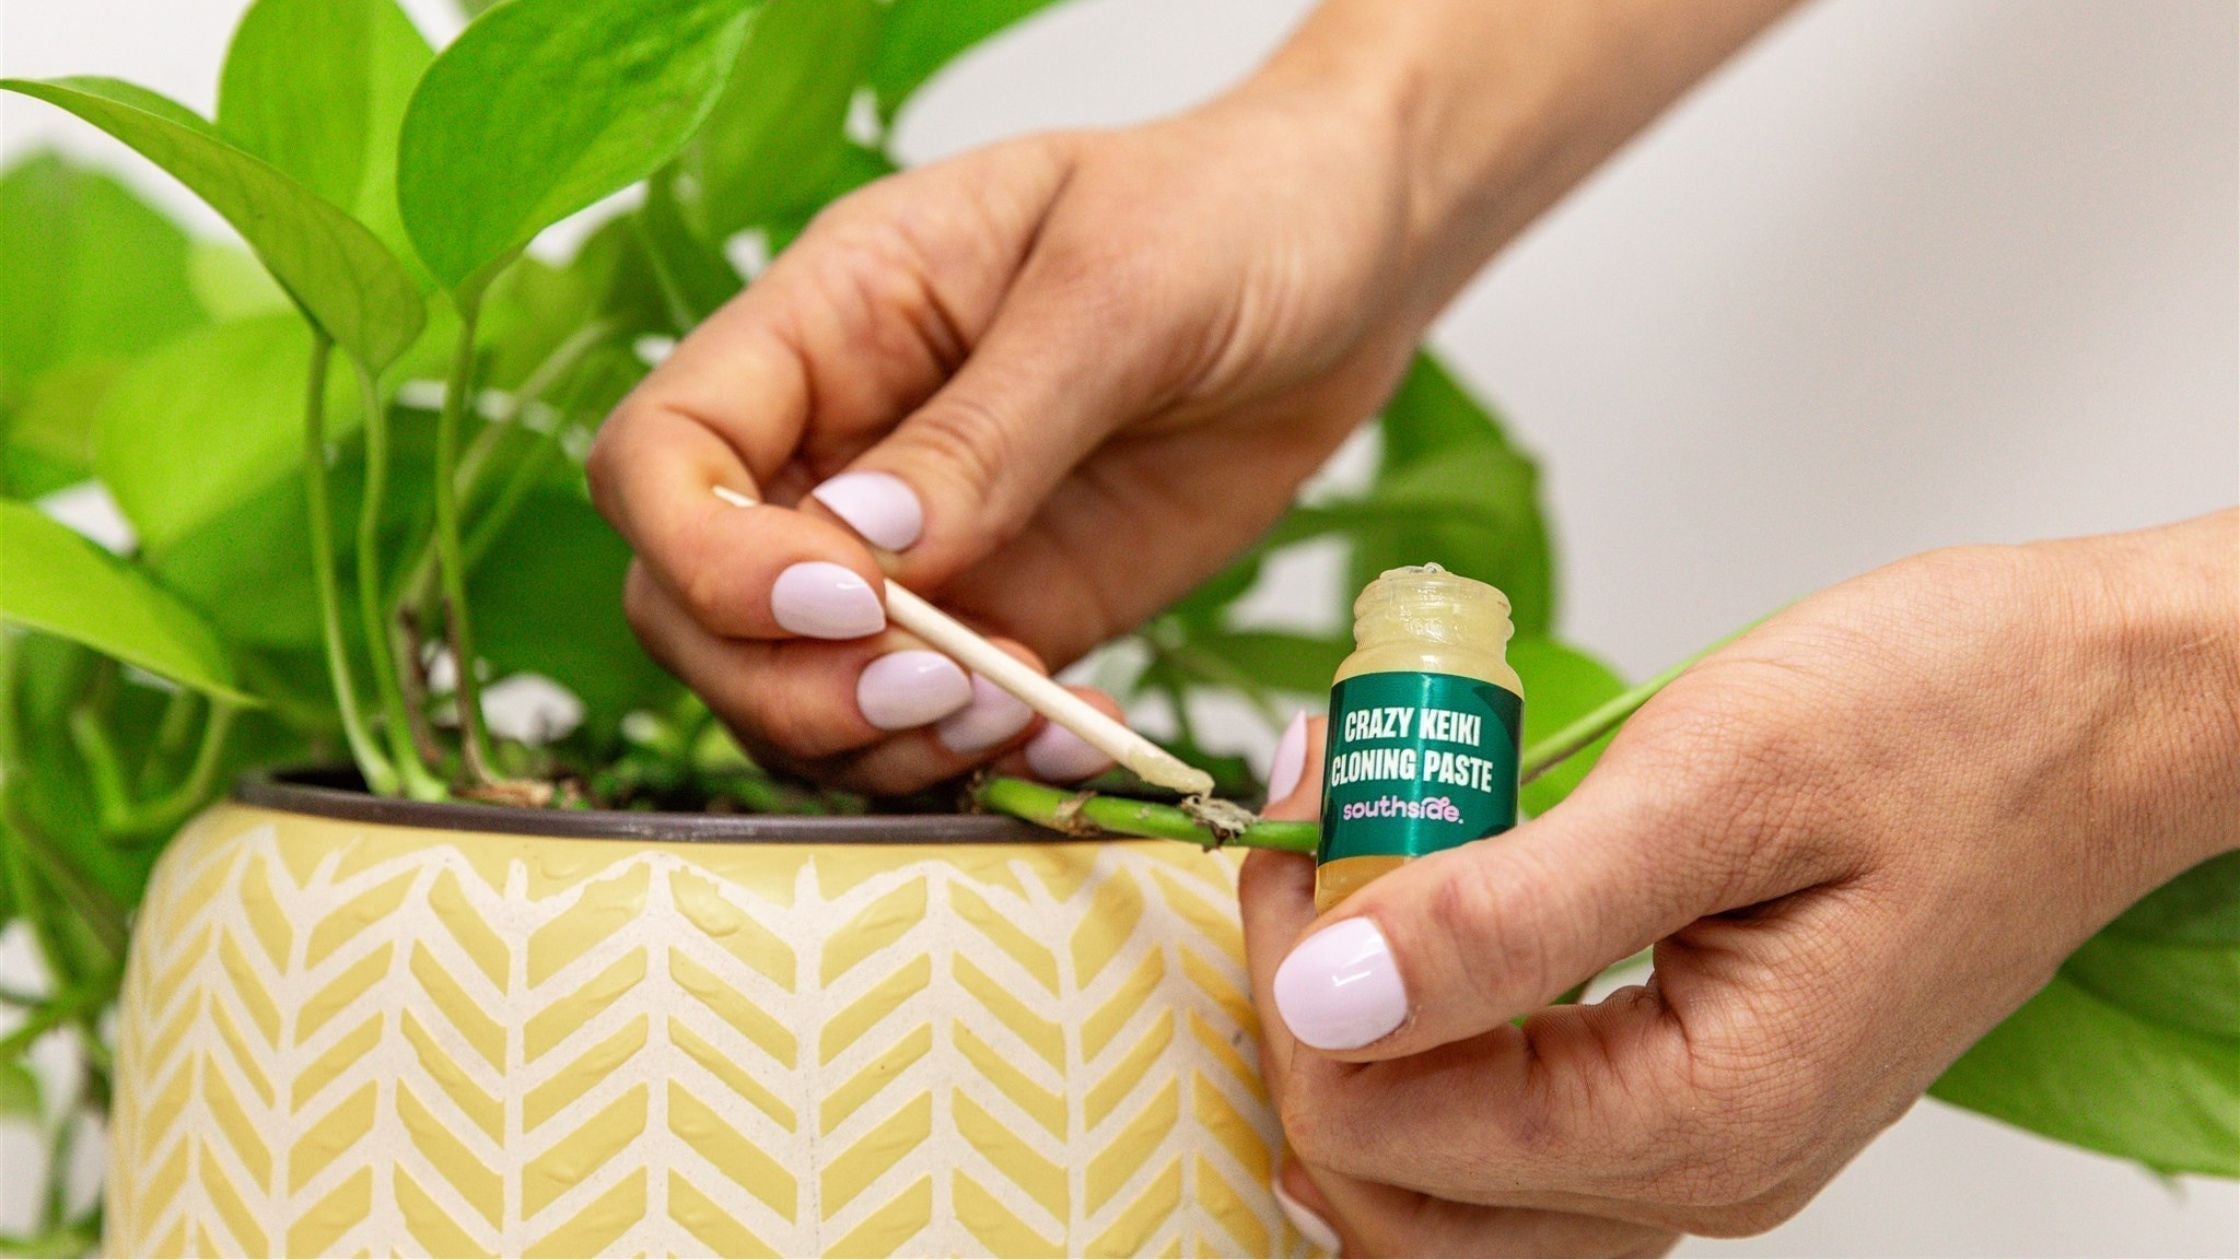
Step 5: Apply keiki paste
Now you're finally ready to apply the paste. Use a cotton swab or toothpick to apply a thin layer of keiki paste to the node. One application should be sufficient, and Keiki paste is water resistant so it won't wash off with gentle care.
Step 6: Note where you applied the paste
Once the keiki paste is applied, you'll want to remember where you dabbed it on so you can monitor growth. The easiest way to track where you applied your node is to grab your camera and snap a few videos and photos. This is also a great way to record a "before" pic to compare to later growth.
Step 7: Continue providing optimal growing conditions
Most plants appreciate an extra dose of mild fertilizer directly after applying keiki paste. In addition, continue to provide your plant with optimal conditions of light, water, humidity, air circulation, and regular fertilization while waiting for the keiki to emerge. Keiki paste is water resistant, but if the plant is accidentally sprayed with a pressure wash or heavy rain, you may want to see if reapplication may be necessary.

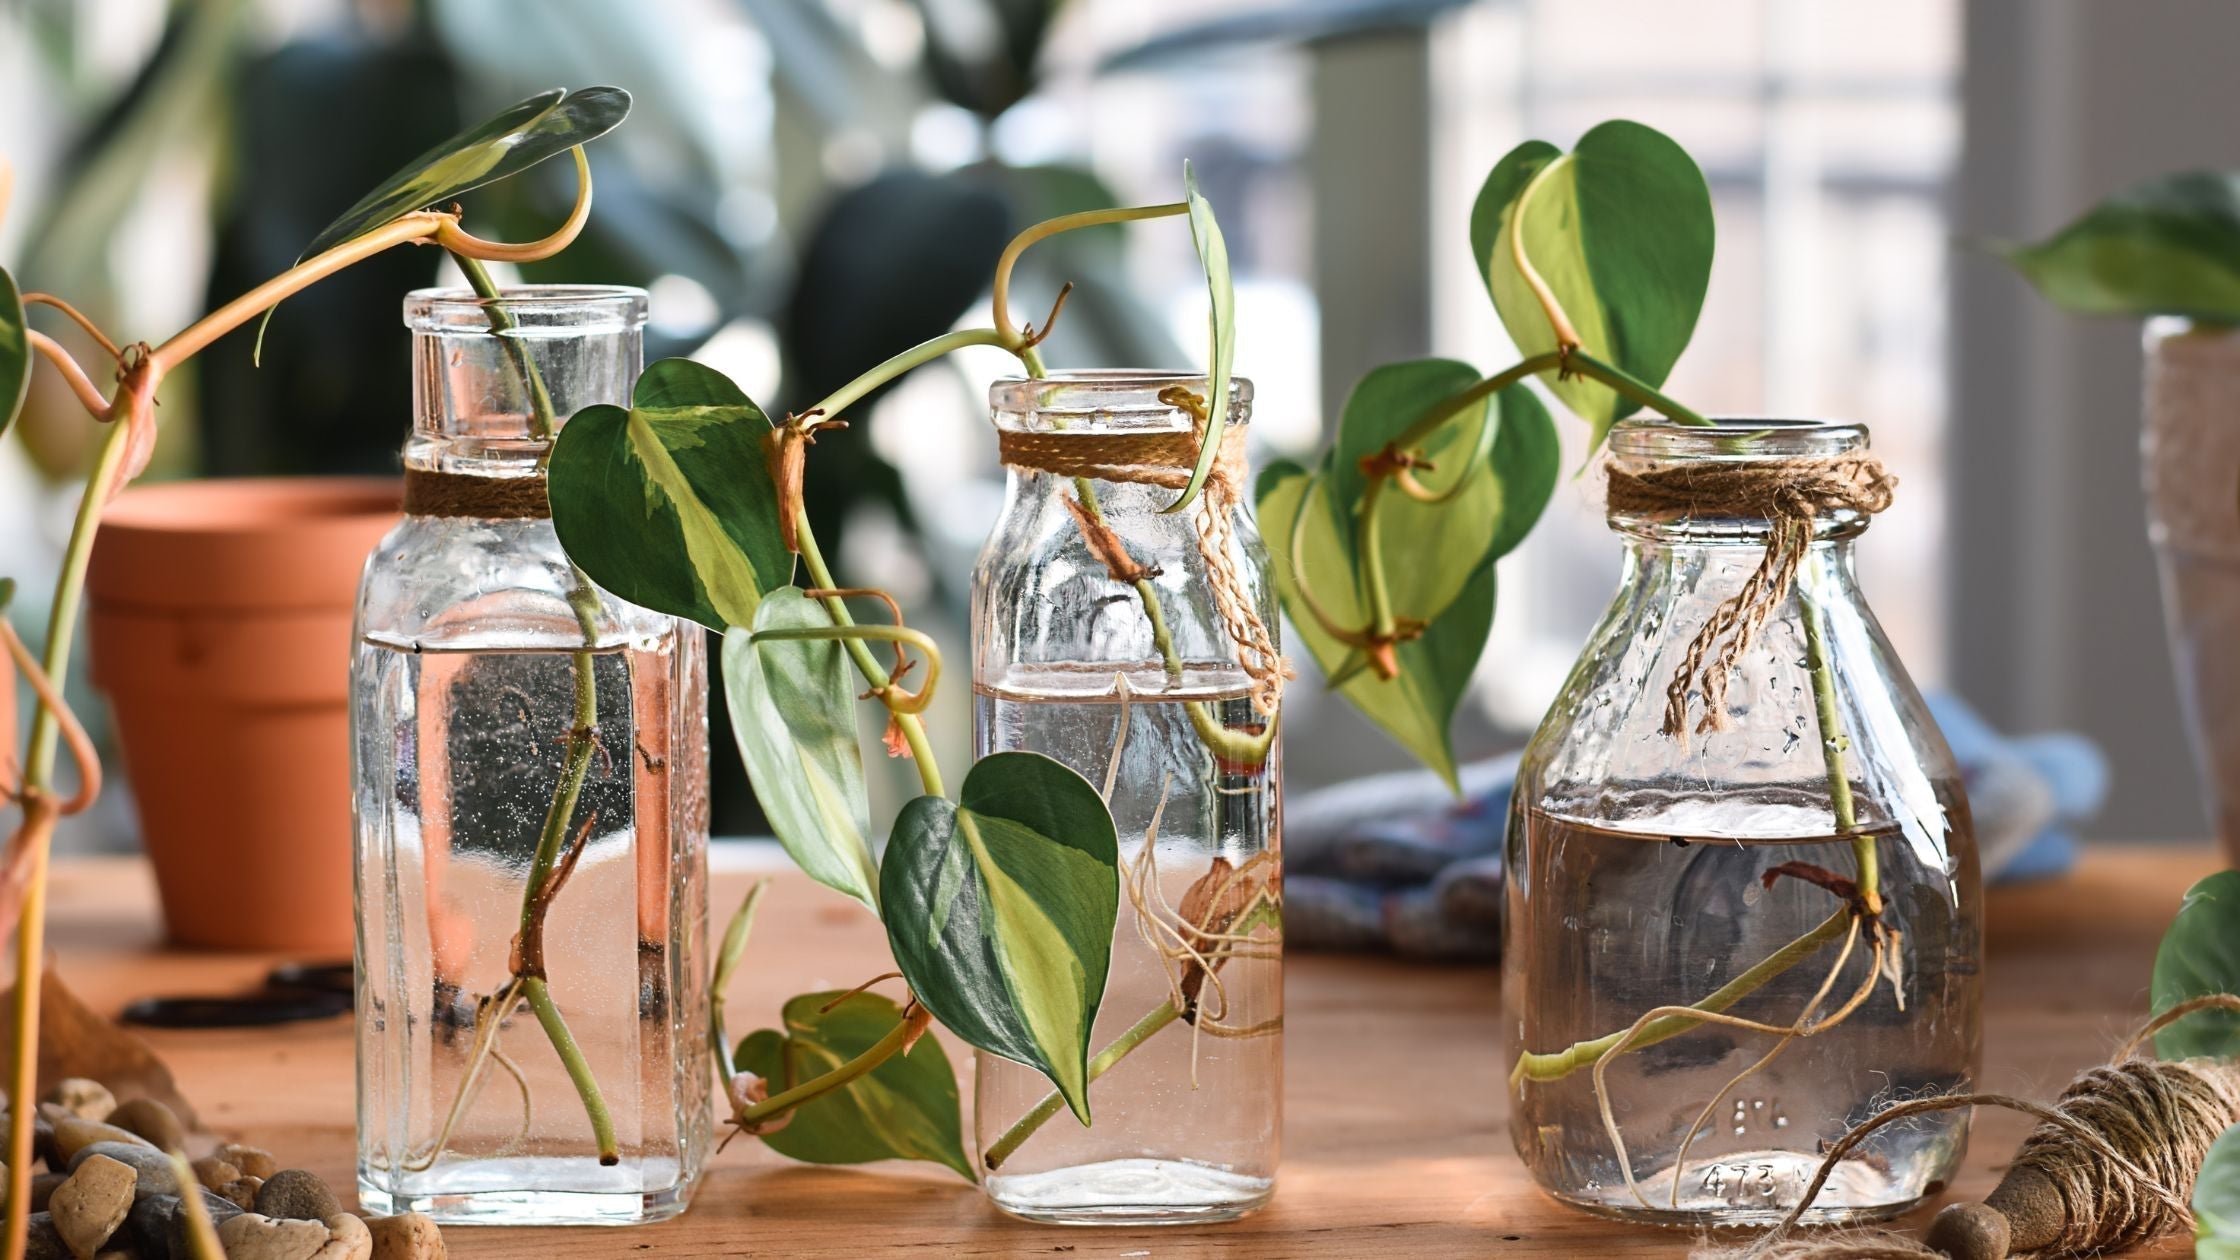
Step 8: Monitor progress and wait!
Check the applied node weekly to see if a new keiki growth is forming. Depending on the plant type, health, and growing conditions, it can take anywhere from one to three weeks for a keiki to appear.
Keiki paste for orchids?
We've covered how to apply keiki paste to most houseplant, but if you want to use it on orchids, check out our complete tutorial on keiki paste for orchids here.
Though keiki paste was initially developed to clone orchids, it can stimulate growth at just about any plant node.
We have tested it on many houseplants - you can see some of our experiments in this article, which also shows how to identify nodes on many common houseplants. Check out the new growth on our ficus umbellata below too!
Regardless of the plant you choose for your keiki paste adventures, the most important things to remember are to choose a healthy growing plant, make sure you find its nodes, and remember to score the nodes. Be patient!
Get Crazy Keiki Cloning Paste here
%20to%20apply%20keiki%20paste%20%0AStep%204:%20Score%20the%20node%20%0AStep%205:%20Apply%20ke...)
Leave a comment
This site is protected by hCaptcha and the hCaptcha Privacy Policy and Terms of Service apply.