
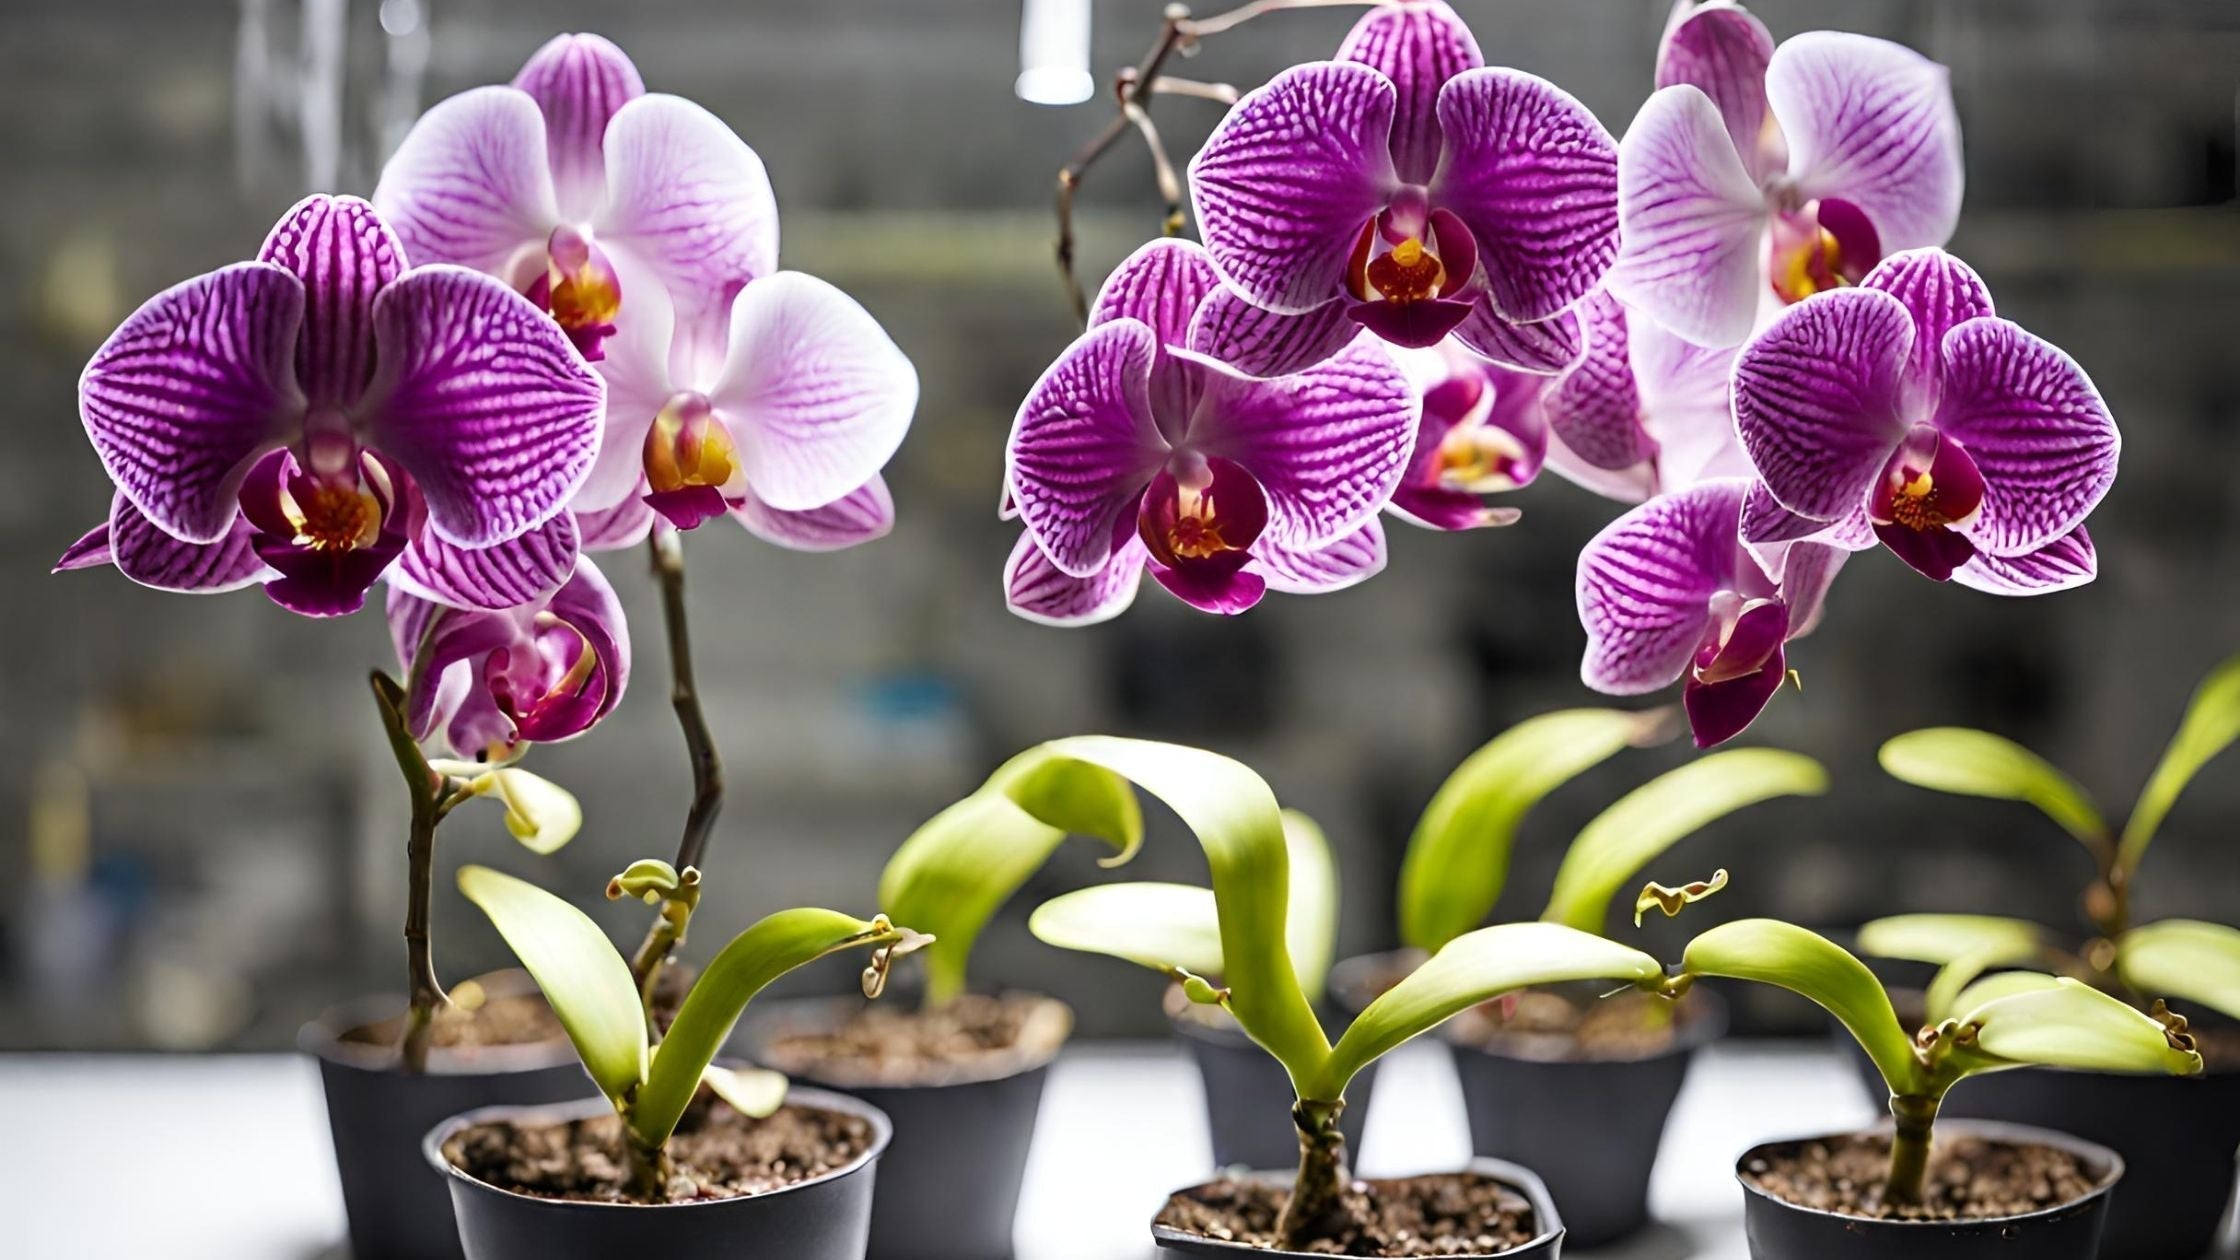
How to Grow Orchids from Seeds (And Why Cloning Is Easier)
Available at just about any grocery store, orchids may seem commonplace these days. But not too long ago, any orchid was considered a rare and expensive commodity because growing them from seeds require years of challenging laboratory cultivation. With the introduction keiki paste, a sticky substance made of lanolin and plant growth hormone, orchids can now be reliably cloned into mature plants identical to the parent within several months.
For most home orchid hobbyists who want to try growing their own orchids, using keiki paste to clone orchids is the now most accessible and efficient way to make more of their favorite plants (and also how your local grocer can afford to sell orchids at a reasonable price). You can learn more about keiki paste in this article.
How orchids grow in nature
Orchids have extremely tiny, microscopic seeds that lack their own stored nutrients, making it difficult for them to germinate and grow to maturity without specialized techniques.
In the wild, orchid seeds depend on a symbiotic relationship with certain fungi in their environment to get the nutrients needed to germinate. The fungi colonize the seed and break down nutrients for the plant embryo, allowing it to develop and grow. Without this symbiotic partner, orchid seeds can’t naturally germinate on their own.
How to grow orchids from seeds
For orchids to grow from seed successfully outside their natural habitat, they are typically sown in sterile laboratory conditions onto a jelly-like, nutrient agar medium in containers or flasks. The medium provides the seeds with the nutrients, hydration, and support they need in the absence of their symbiotic fungi. However, the nutrient balance in the agar must be precisely controlled to allow for germination and growth. Too much or too little of certain nutrients can prevent the seeds from thriving.
Once sown onto the agar, additional fungal extracts or specialized nutrient solutions are often applied to the seeds to induce germination with pipettes and microscopes. Orchid seeds can take anywhere from three to twelve months to finally germinate on the nutrient agar, which is only the very beginning of the process of growing an orchid from seed!
The long road from seedling to adult
Once germinated, the tiny orchid seedlings must be kept in very stable and precisely controlled greenhouse environments to support their slow development. Factors like temperature, humidity, ventilation, water, nutrients, and light exposure must be optimized. If conditions deviate too far from the seedlings’ needs, they can easily die before reaching maturity.
Over several years of meticulous and attentive care, the orchid seedlings slowly grow into juvenile plants. But it typically takes a minimum of five to seven years before they bloom for the first time and reach maturity as adult plants. This prolonged timeline makes growing orchids from seeds a labor of love and patience, even for professional growers. Most home growers do not have the expertise, resources, or even interest to raise orchids from seeds successfully.

Why cloning orchids with keiki paste is easier
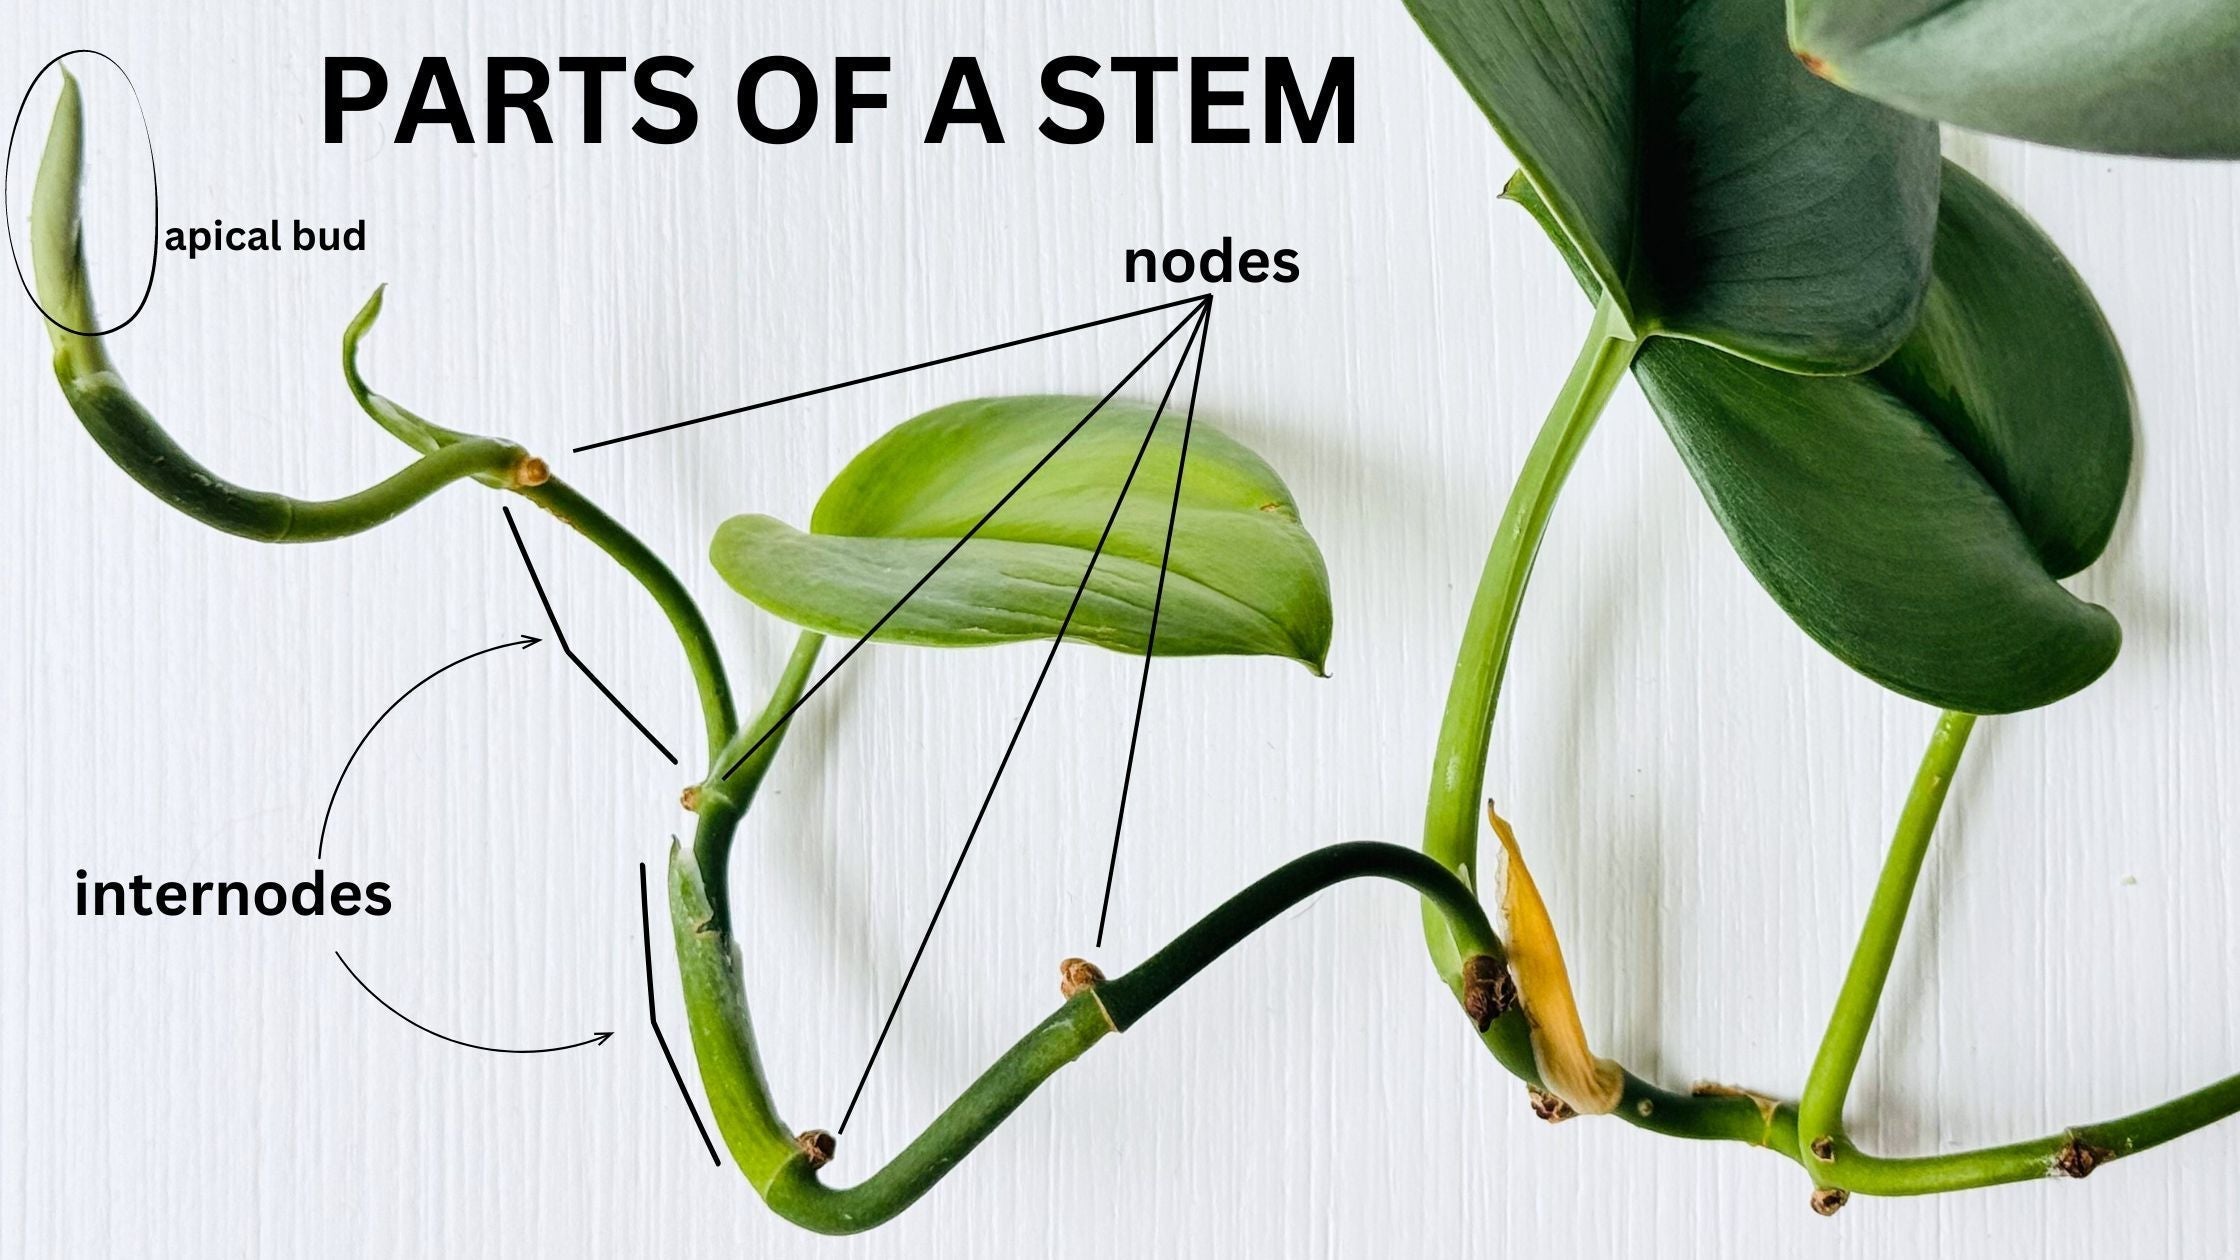
In contrast to the precise and fussy process of growing orchids from seeds, cloning mature orchid plants using keiki paste is a much more accessible method of propagation that produces results faster. To clone an orchid, keiki paste (containing the plant hormone cytokinin) is applied to nodes on a flower spike. The hormones stimulate cell growth and division, initiating the development of a new orchid plantlet or “keiki.”
You can learn more about how to apply keiki paste here. (It works to stimulate growth on other plants too!)
Within weeks or months, a new baby orchid clone will emerge from that spot on the flower spike and begin growing its own roots and leaves. Once the keiki has matured enough, you can simply cut it off and repot to continue growing independently as a clone of the parent plant. The entire process, from paste application to repotting, can take as little as 2-3 months.
Making more of what you love
Apart from the ease and speed of using keiki paste to clone orchids, the clone will have the same genetic identity as the parent, maintaining all of its distinctive features like flower shape, size, fragrance, and colors. On the other hand, raising orchids from genetically variable seeds may produce plants with appearances and traits that differ from the parent.
For home growers seeking to propagate more plants like their favorite orchid, cloning with keiki paste is the simplest method. The paste provides an easy shortcut to producing genetically identical new plants in a fraction of the time it takes to raise orchid seeds.
Read to grow?
Get Crazy Keiki Cloning Paste here
P.S. Have you failed at growing orchids? Can’t get them to rebloom, or even keep them alive? If this sounds like you, we you’ve got to check out our friend, Raffaele, from Ohio Tropics and his brand new course on becoming an orchid master!
This is orchid growing SIMPLIFIED! You won’t believe how easy they are once you learn the basics.
Sign up now and get $50 OFF when you use the code: ORCHIDCOURSE.
CLICK HERE TO BECOME AN ORCHID MASTER!
Leave a comment
This site is protected by hCaptcha and the hCaptcha Privacy Policy and Terms of Service apply.