 What Plants Can I Use Keiki Paste On?
Click to skip ahead and see keiki paste working on specific houseplants:
One of the most common questions we receive is - What plants can I use keiki paste on? Does it work on houseplants? Does it work on my ficus tree? Can I use keiki paste on outdoor plants?
The short answer is YES! Keiki paste is not plant-specific, and while it is not made or sold for food crops, the biology of keiki paste works the same on just about any plant.
GET CRAZY KEIKI CLONING PASTE HERE
How does Keiki Paste Work?
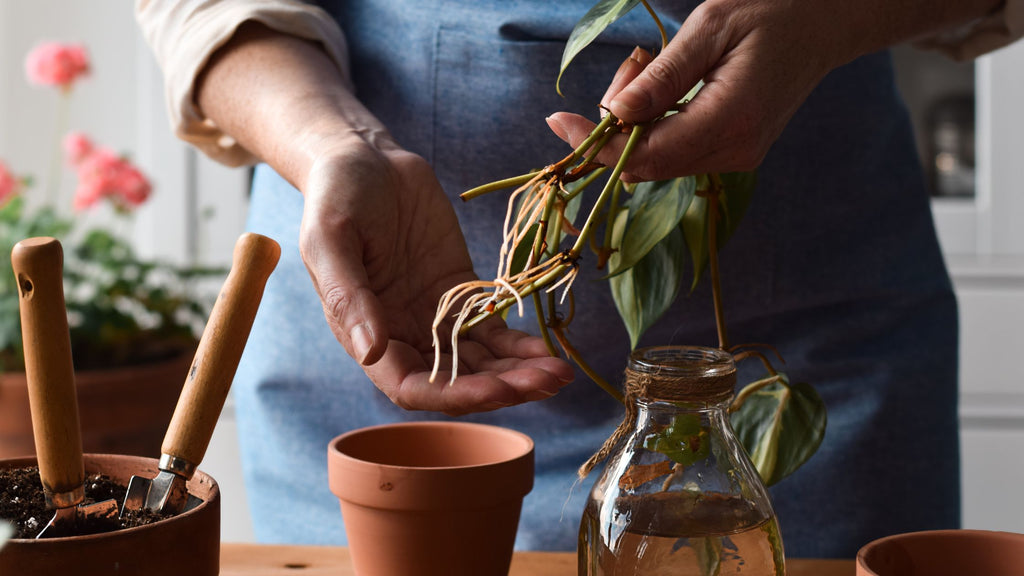
You can read an in-depth explanation of what it is and how keiki paste works here. But in short, keiki paste is a specialized substance originally developed to clone orchids because growing orchids from seeds is challenging. It was soon discovered, that keiki paste can stimulate growth at any plant node. The paste consists of water-resistant lanolin plus cyctokinins, a plant hormones that give the plant a boost to stimulate lateral growth of vegetation when applied to the nodes.
Applying keiki paste to the right parts of your plant can encourage it to grow new shoots, stems, and leaves more quickly than it would otherwise. More shoots mean a bigger plant and more parts to snip off for propagation to grow even more plants.
Before we show you specific plants you can use keiki paste on, here are some basics you must follow to apply keiki paste correctly:
-
Choose a healthy plant that is getting the correct light, food, water, and potting conditions. If your plant looks healthy and is currently growing, keiki paste will work best.
-
Find the nodes - It’s essential that you locate the plant nodes which are the growth centers along the plants’ stems. This is where leaves or branches grow and often appear as a thickening of the stem, and this is where the keiki paste must be applied.
-
Choose your nodes - You can apply Keiki paste on any node, but bear in mind that it is more effective when applied to nodes that are closer to the soil.
-
Don’t forget to score the nodes - By gently puncturing or scratching the node, the plant hormones will be able to contact the cells they need to interact with to grow. This step is especially essential for plants for thicker, woodier stems.
-
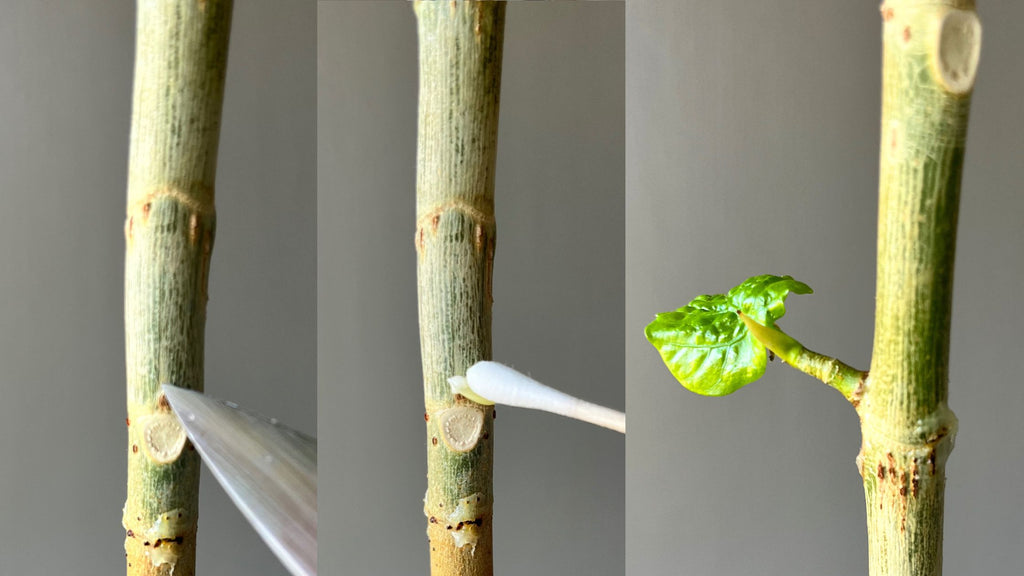
Applying the paste is easy - Use a cotton swab to apply a generous amount - enough to create a thick layer - to the prepared node. This amount will vary depending on the size of the node. Get a more details on how to use keiki paste in this tutorial.
-
Give your plant an extra boost - Most houseplants will respond best to keiki paste if you provide them with an extra dose of gentle plant food after application to help them push out new growth.
-
Be patient - Keiki paste can take up to a month to work. Be sure to maintain your plant's optimal growing conditions, and soon you will see new shoots and leaves emerging from the nodes you applied the paste to.
Now let's get into some specific plants to answer the question - What plants can I use keiki paste on? Let's find out...
Does Keiki Paste work on Paper Plants or Fatsia (Fatsia Japonica)?
Yes! Fatsia or the Paper Plant (Fatsia Japonica), known for it's shiny, lobed leaves, is unfussy and fast-growing, both indoors and outdoors.

Finding nodes on a fatsia - The leaves of a paper plant have very long petioles that extend from the main stems. A petiole is the stalk that attaches the leaf to the stem. There won’t be nodes along the petiole. Nodes on smaller, younger Fatsia tend to be on the lower reaches of the plant, along the main stems. Follow the petioles down to the stem and you will find them.
Here is a closeup of a Fatsia Japonica node. You can see younger leaves emerging outwards from the node:

In Fatsia, new shoots will be fuzzy and slightly paler than the rest of the plant.

Preferred conditions for Fatsia - Because they can grow outdoors, Fatsia prefer drafty, cooler spaces in the home between 60-70°F. This plant likes soil that is slightly damp at all times.
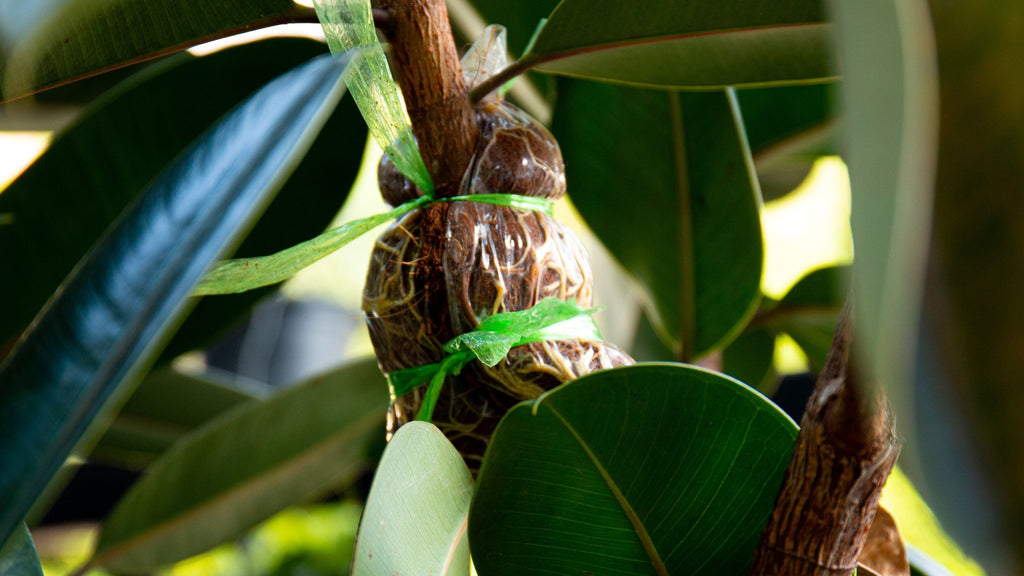
Does keiki paste work on ficus trees?
Yes! Keiki paste can help you get bushier growth on your ficus tree.
For this example, I'm showing you my weeping fig (ficus benjamina), a popular, easy-care houseplant. Its variegated, slightly rippled leaves fall from the stems in a slightly drooping habit, lending the plant its common name. Although it grows to a limit of three to six feet in a container, it can reach up to 60 feet tall outdoors.

Finding nodes on ficus trees
Different species of plants have different kinds of nodes. Smaller ficus will have very fine stems which can make node identification difficult so use a magnifying glass if necessary. Weeping fig nodes look like tiny joints. You may see brand new, green shoots already emerging from some of them (like in the two right-most nodes marked in the photo below)

Applying keiki paste to woodier stems
To prepare tougher, woodier stems for keiki paste like you’ll find on a many ficus plants, scoring is especially important. Make you must score the nodes you have selected very gently with a needle or sharp knife, making sure you're not severing the stem completely. This will reveal the juicy green tissue beneath the tough outer exterior. Apply the paste as usual.
Optimal conditions for ficus plants
Ficus love bright light but never place them in the direct path of the sun. This will scorch the leaves. Make sure you position the plant in a draft-free place where the nighttime temperature is always between 65 to 70°F and the daytime temperature is between 75 and 85°F.
Your ficus will respond much quicker to the Keiki paste if you place it in high humidity conditions. Ideally, the humidity should be 70 percent and should be a minimum of 60 percent. Your plant will do its best in a warm greenhouse.
In terms of watering, ficus appreciates soil that is always slightly moist but never soggy. When you do water, dip the whole pot in a filled sink or run the pot under a tap for thirty seconds. Then, leave the pot out on a dry surface for any excess moisture to seep away. Never let your ficus sit in water.
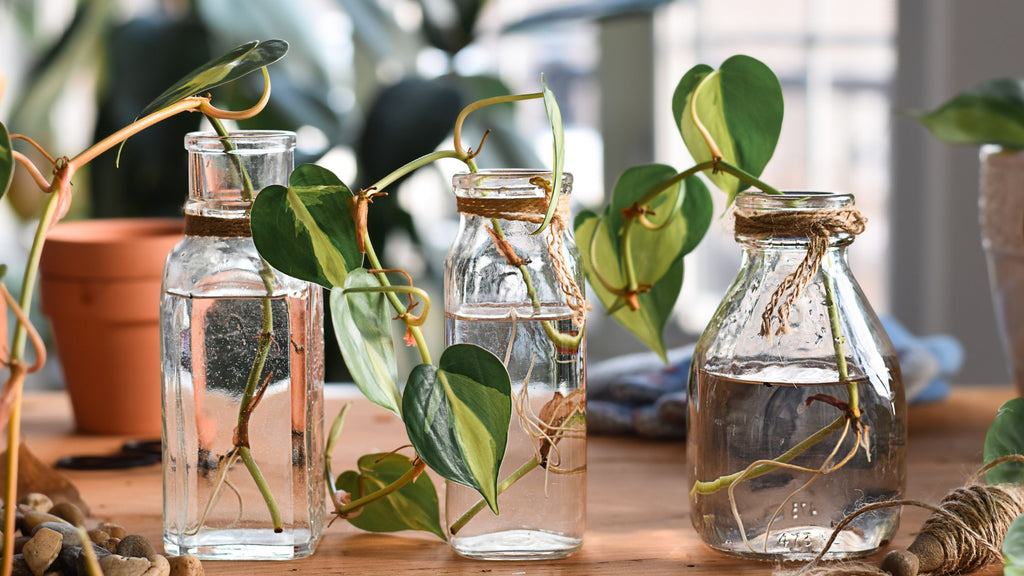
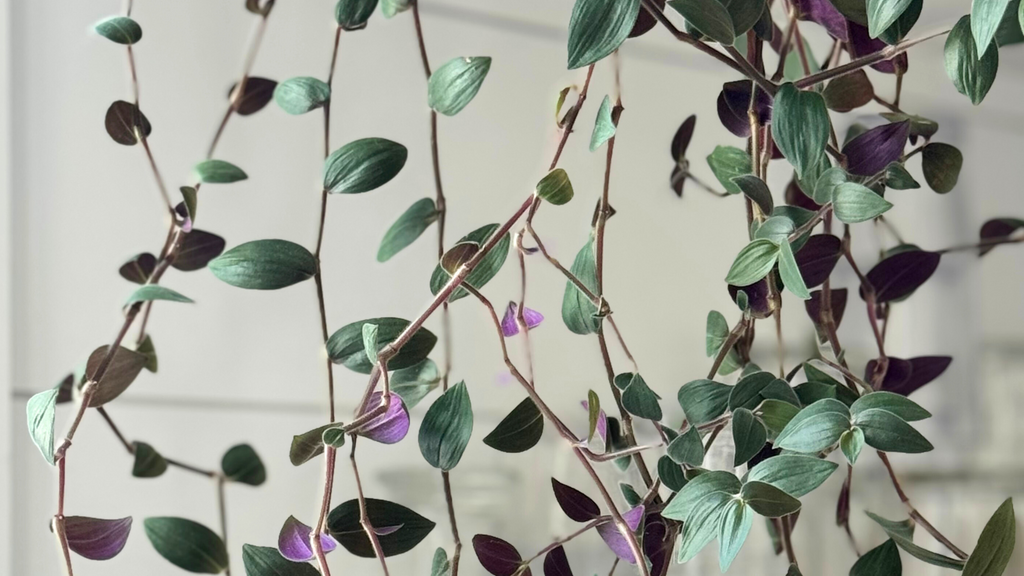
Does keiki paste work on inch plants?
Yes! With the help of Keiki paste, you can grow new shoots and leaves on your Inch Plant.
Also known as Tradescantia Zebrina, Inch Plants are among the easiest plants to propagate. Inch plants are popular for their stunning foliage marked with green, silver, and purple stripes.
Their trailing habit makes them ideal hanging basket plants. Their tendency to root readily means that they are ideal for growing in water. Mine is growing happily in a glass vase filled with water and a few drops of fertilizer. They are so vigorous that in South Africa they are classed as an invasive species. Given the right conditions, this plant will easily reward you with masses of striking foliage.

Locating nodes on inch plants
Inch Plant nodes are easy to find. Here is a closeup of two Inch Plant nodes. They show up as small bumps on the stem.

Optimal conditions for inch plants
The inch plant does best in very bright filtered light. The purple queen variety loves full direct sun.
Inch plants prefer humid air. This is especially important after you've applied Keiki paste. Place in a bright bathroom, mist regularly with a bottle spray, or place on a tray containing gravel or pebbles with water up to half the depth of the gravel or pebbles.
As for watering, try to keep the soil evenly moist at all times though not waterlogged.
Add a dose of fertilizer right after you use the paste to help the plant push out new growth. Soon, you will see new shoots and leaves emerging from the nodes you applied the paste to.

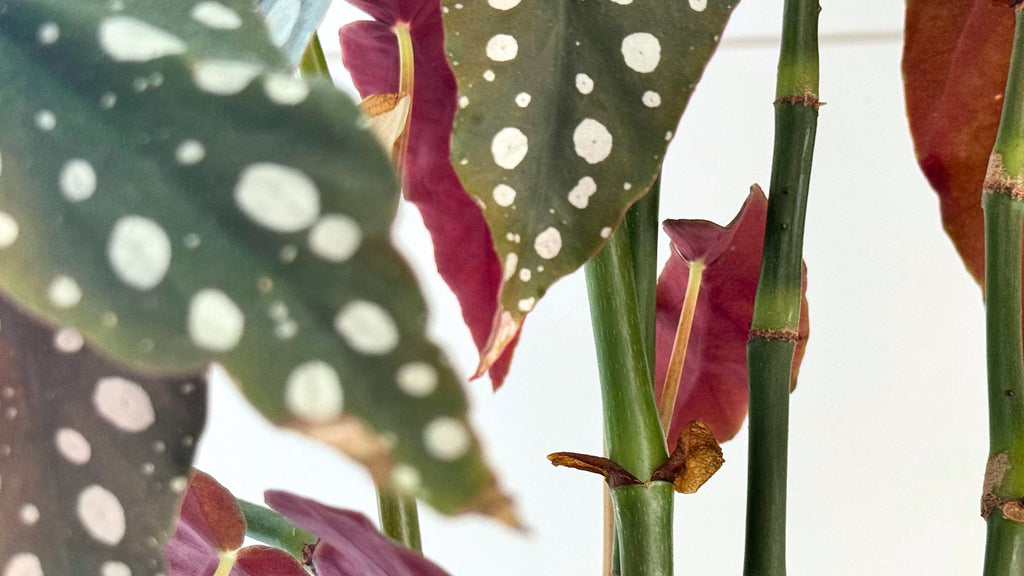
Does keiki paste work on prayer plants (marantas)?
Yes! Marantas are a delightful plant that come in several different color variations. My Maranta leuconeura pictured here has fine red veins threaded across patterned pale and dark green oval leaves. If you want it to produce more foliage, Keiki Paste can speed up growth.

The best time to apply Keiki paste to your Maranta is during the spring and summer season. With maximum sunlight and warmth, it is more likely to respond to the paste as it is already primed for new growth.
Finding nodes on marantaa
Different plant species have different kinds of nodes. On the Maranta, they show up as knobby joints every couple of inches along the stem. The photo below highlights just two nodes on this Maranta plant, although there will be plenty more.

Optimal conditions for marantas
Marantas need medium to bright indirect light in a temperature range between 65°F to 85°F. Never place the Maranta in direct sunlight as this will scorch its leaves and eventually kill it. Although it prefers higher air humidity (above 65 percent), it will be fine in normal indoor humidity.
The Maranta is generally easy to take care of but it does not tolerate tap water due to its chemical content. You must only use distilled water or rainwater on the plant. Keep watering to a minimum, about every one to two weeks. Only water when the top half of the soil is completely dry.
Does keiki paste work on a monstera?
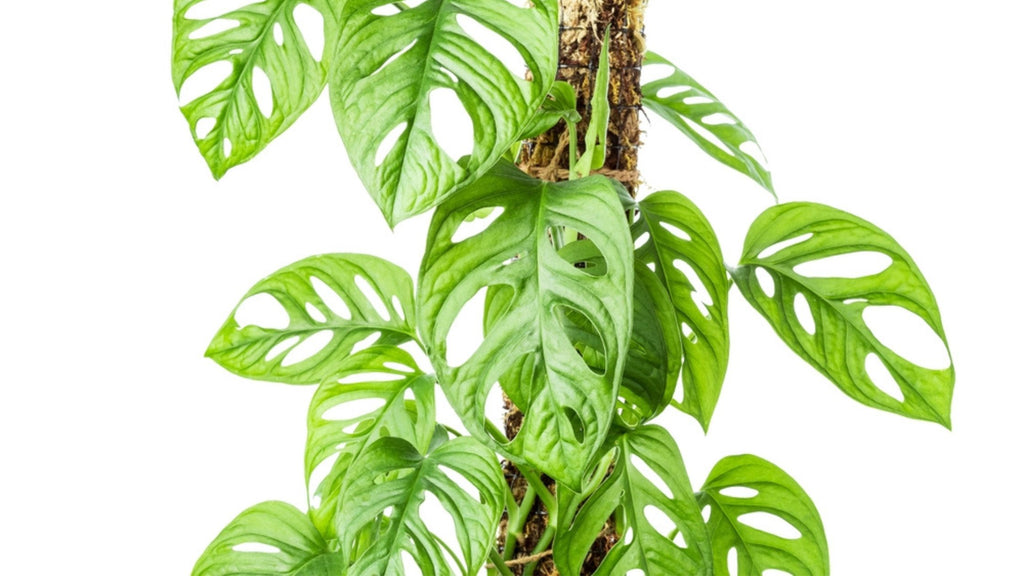
Yes! Monstera are a favorite of houseplant lovers. The most popular varieties are Adansonii which have hole-y leaves and Deliciosa which has leaves with toothed edges.
Larger monstera are pricey. It’s cheaper (and more rewarding) to nurture a smaller Monstera into leafy splendor. Keiki paste will help by encouraging new growth quickly.
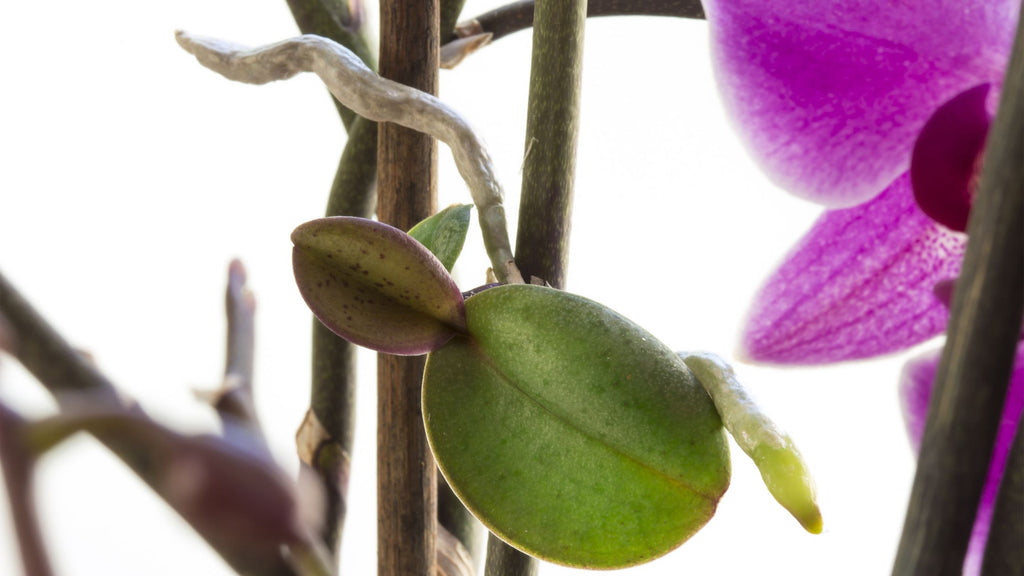
Locating nodes on a monstera
On Monstera, nodes show up as faint rings. Often, shoots grow just above or below these rings. Sometimes, a dark dot will mark the spot as in the photo below.


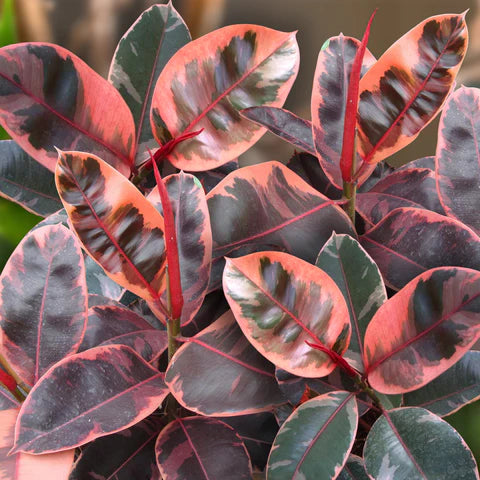
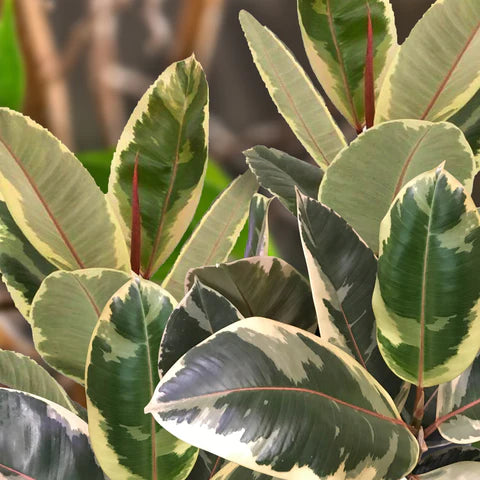
Does keiki paste work on a baby rubber plant?
Yes, you can use Keiki paste to encourage new leaves on a baby rubber plant (Peperomia obtusifolia), however, its thick and slightly woody stem require extra care in preparing the node for application.

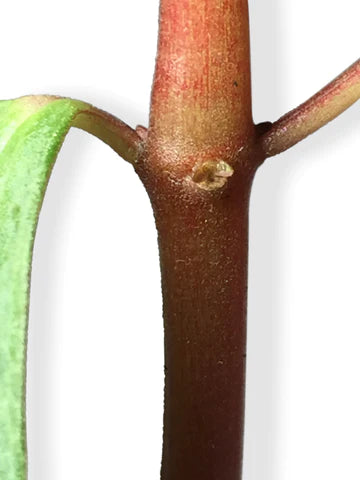
Finding nodes on a Peperomia obtusifolia
This plant has quite a thick stem so finding nodes should be easy.

Some nodes will be sprouting tiny leaflets already.

Nodes can also be found in the crevices just above or below existing leaves, as below. You can already see a tiny leaf emerging here.

Best conditions for a baby rubber plant
Your baby rubber plant does best with direct morning light and full, indirect light for the rest of the day. An east facing-window is ideal.
Maintain at least 60% humidity around your plant with regular bottle-sprays or by placing it on a tray of moist gravel. You should also use high nitrogen fertilizer to give your plant the extra nutrients to push out new growth.
Does keiki paste work on Peperomia Verticillata?
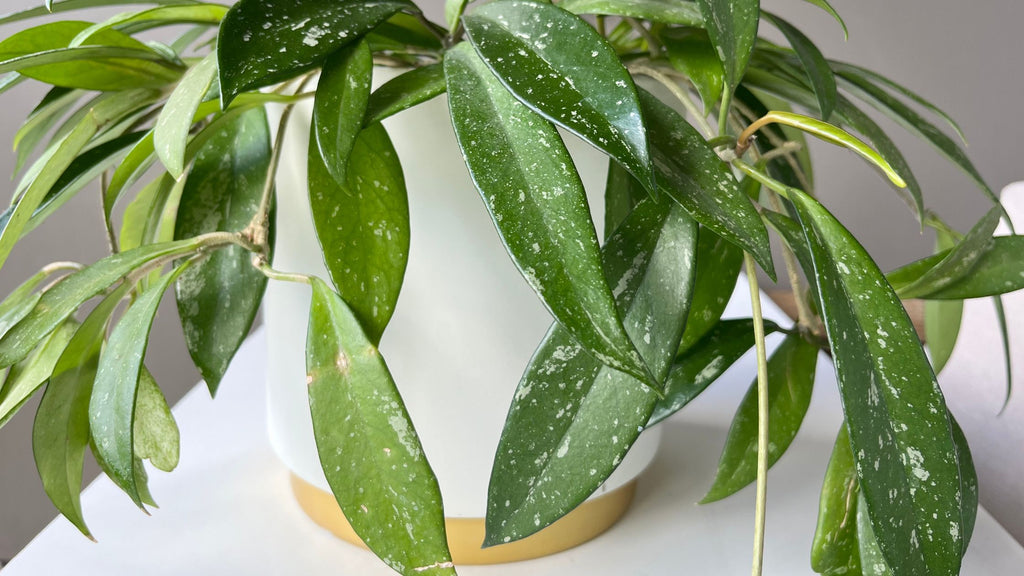
Yes! You can enliven your Peperomia Verticillata Red with the magic of Keiki paste.
Peperomias are low-maintenance plants so I tend to leave them to their own devices. However, this means they can end up looking a bit ropey after a few months of neglect. I decided to see whether Keiki paste can perk them up with fresh foliage.

This lanky specimen grew tremendously over the summer, from 1.9 inches (5 cm) tall to now 13.7 inches (35 cm). The Latin ‘Verticillata’ (the root for the English word ‘verticillate’ or whorl-like) means a concentric pattern. At its healthiest, this plant should have leaves stacked closely on top of one another, circling the entire stem.
After my plant’s growth spurt, its foliage leaves a lot to be desired. There’s a lot of bare stem relative to the leaves. Not much verticillate action going on here.
This is where the Keiki paste comes in. I applied it to selective parts of the plant to encourage new growth and balance the silhouette.
Finding nodes on Peperomia Verticillata
Finding nodes can be tricky, especially on thin stems like these. A magnifying glass can help. Here are some close-ups of nodes on my Peperomia Verticillata.


Optimal conditions for Peperomia Verticillata Red are bright indirect light. A window just next to a tree would be ideal. Maintain at least 60% humidity around your plant with regular bottle-sprays or by placing it on a tray of moist gravel. Use high-nitrogen fertilizer to give your plant the extra nutrients to push out new growth.
Does keiki paste work on Pepper Prayer Plant (Peperomia dolabriformis)?
Yes! When I got my Pepper Prayer Plant from the shop, some leave fell off in transit. With the summer a while away, I wanted to speed up the re-growth process. Using Keiki paste, you can get your plant looking bushier even while dormant, so I had high hope it would be a success.
Preferred conditions for Peperomias are bright light and at least 60% humidity.


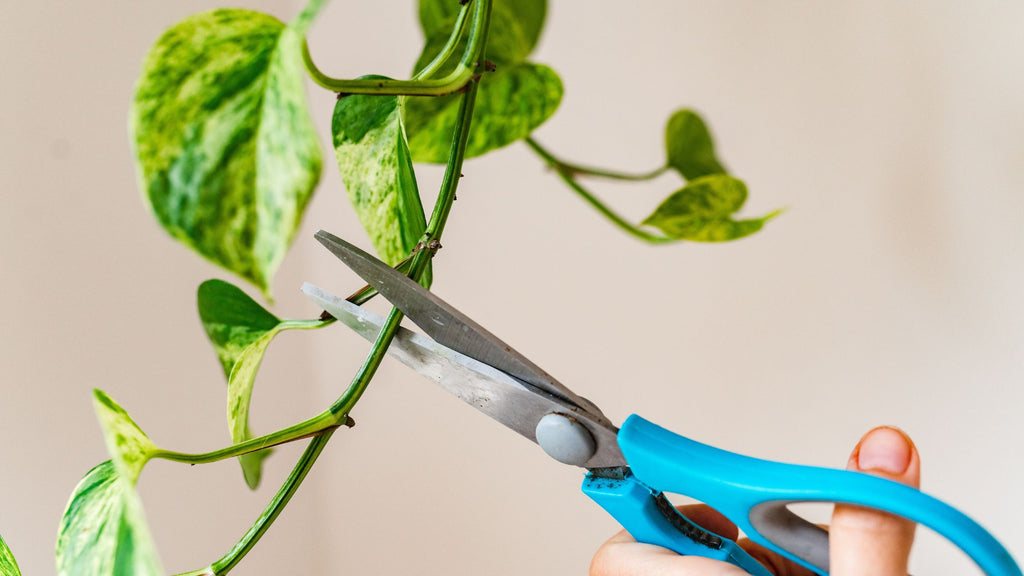
Does keiki paste work on philodendron?
Yes! A philodendron is a vigorous vining plant with luscious heart-shaped leaves, and you can encourage your Philodendron to grow new shoots, stems and leaves with keiki paste. This will leave you with a bushier plant with plenty of extra material for stem cuttings.

Locating nodes on Philodendron
Stem nodes are very easy to find on Philodendron's long, segmented stems. The nodes will show up as raised, pale rings or woody notches around the stem. Usually, stems will be bent slightly from where the node is. Younger plants with shorter stems (as in the photo) will have fewer nodes, and they may be nearer to the soil.

It may be tempting to apply keiki paste to every bald node on your leggy vine - and you can - but also consider whether your plant's health and conditions are optimal for it to be able to support the growth you'll be requesting.
Best conditions for Philodendron
Philodenron like dappled light like a window facing a tree or on a windowsill behind net curtains.
Philodendron are a rainforest plant and needs lots of humidity. This is even more important while you are waiting for new growth.
Water philodendron only when the top two inches of the soil is completely dry.
Add one extra dose of a balanced fertilizer right after you use the paste to help the plant push out new growth. If you have applied Keiki paste to many nodes, add a few more drops of fertilizer to your usual amount each time you fertilize.
Soon, you will see new shoots and leaves emerging from the nodes you applied the paste to.

Does keiki paste work on a pothos?
Yes! You can use keiki paste to get lustrous new foliage on your pothos for spilling over hanging baskets.
For this example, I'm showing you my Satin Pothos (Scindapsus pictus ‘Argyraeus’) also known as silver philodendron or silver vine. Unlike the more common Devil's Ivy Pothos, the Satin Pothos (Scindapsus pictus ‘Argyraeus’) is a darker green with silvery green variegation. It is a bit rarer than the a usual pothos and makes a striking addition to your houseplant collection.
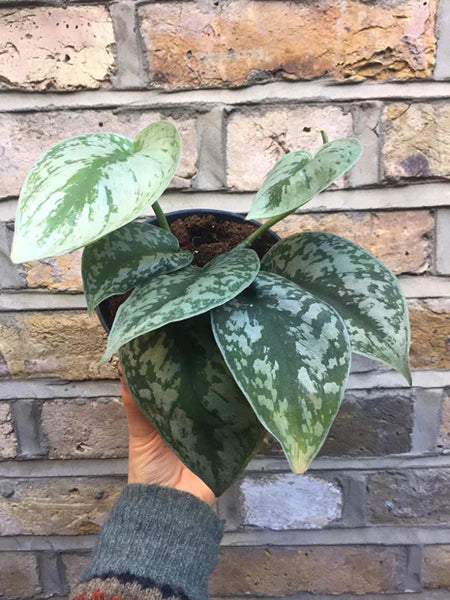
Finding nodes on a pothos
Pothos and Monstera stems and nodes look very similar - the nodes of both these plants show up as raised rings around the stem, as highlighted in the image below. Scoring the nodes is essential when a plant has slightly fleshy or thick stems like the Pothos.


A new bud on the Pothos will unfurl into a leaf. This is the same plant as above, just transferred to a hydroponic setup.
Best conditions for a Pothos
Pothos like indirect or filtered light – never place in direct sunlight, and Pothos do not need water unless the soil is completely dry.
Your pothos will like a balanced fertilizer, containing equal amounts of nitrogen, phosphorus, and potassium (10-10-10 or 5-5-5).
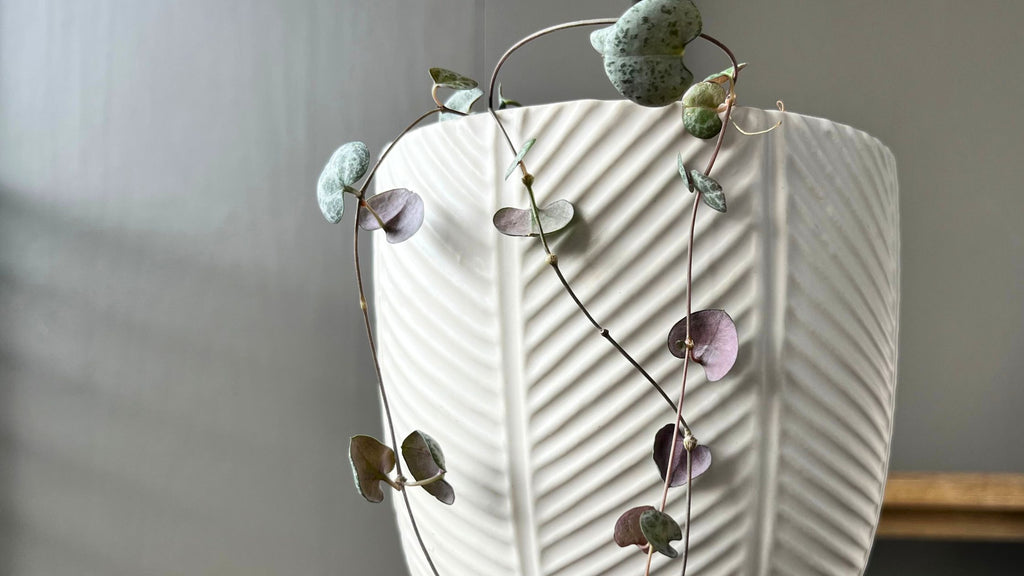
Does keiki paste work on string of hearts?
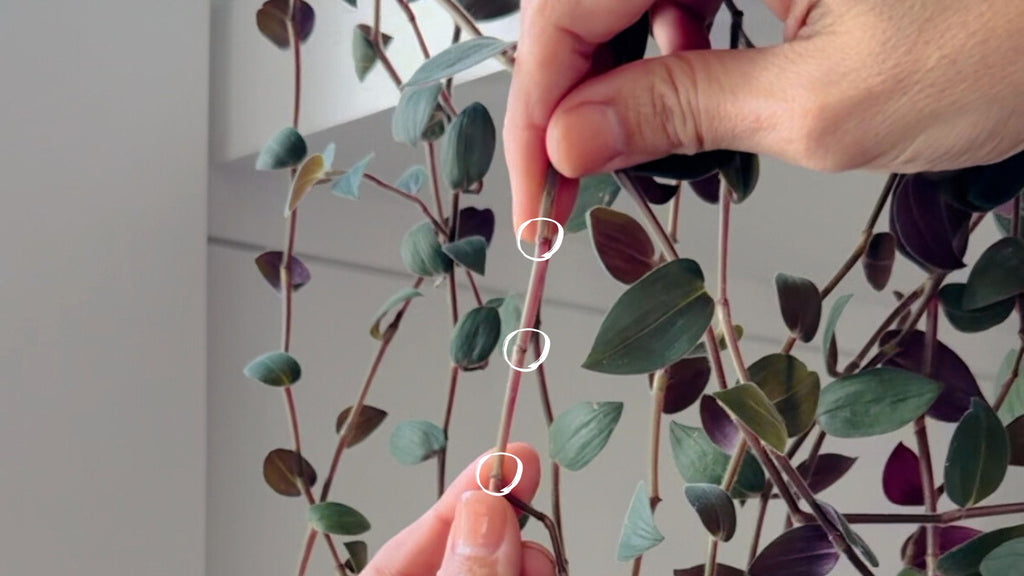
Yes! You can grow new shoots and leaves on your String of hearts or Rosary vines (Ceropegia woodii) with keiki paste.
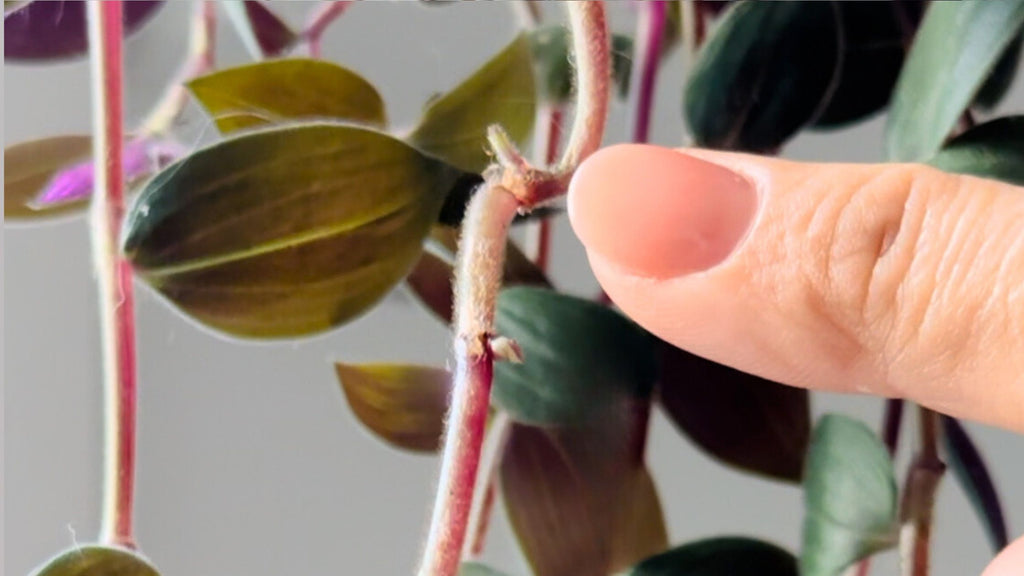
String of hearts is a succulent vine from Southern Africa. I found mine at a local garden center looking thin and straggly, so I’m nursing it back to health.

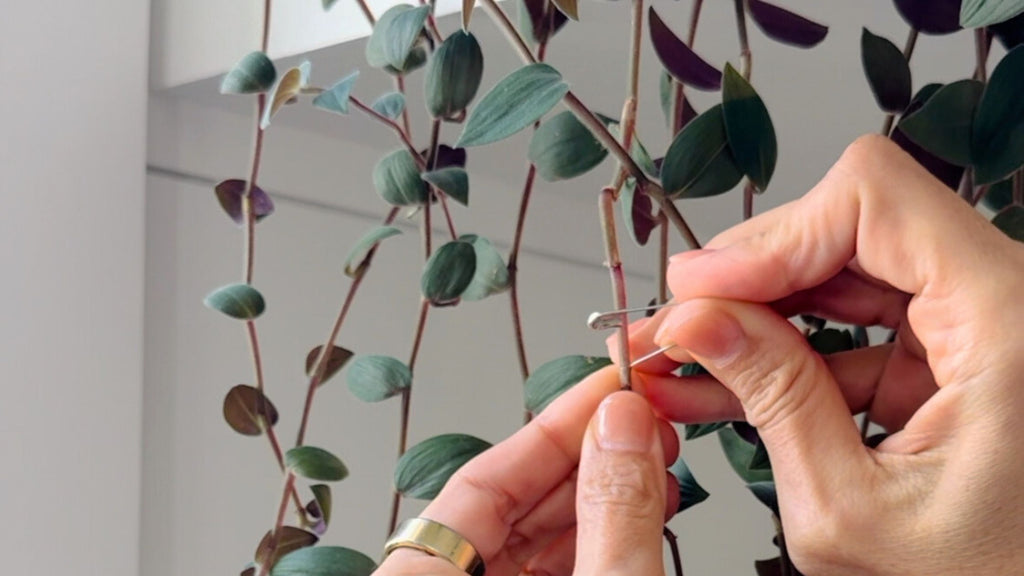
Finding nodes on string of hearts
In the wild, the stem nodes of String of Hearts put out roots once covered with soil. Keiki paste will work like a dream on its thin stems.
The nodes of String of Hearts show up as raised bumps along the stem. They look like tiny elbow joints and you might need a magnifying glass to find them. You may see tiny shoots already growing out of them. A String of Hearts node is highlighted in the image below.

Optimal conditions for string of hearts
The more light your String of hearts receives, the more nodes it will produce on its stem. Place your String of Hearts in a position that receives bright indirect sunlight. Ideal places would be next to a frosted window that faces East or West, or a South facing window shaded by trees.
If it gets enough light, it will produce nodes that are closer together along the stem and the plant will look bushier as a result. If your plant is not receiving enough light, it will conserve energy by growing nodes spaced further apart.
You will need to fertilize your String of Hearts after applying Keiki paste with a nitrogen fertilizer to help it push out new growth.
String of Hearts does not need water unless the soil is completely dry. When you water, make sure none of the leaves get wet.
Does keiki paste work on a string of buttons?
Yes! You can boost growth on a String of Buttons (Crassula perforata) using Keiki Paste.
String of Buttons is a slow-growing succulent with leaves that are generally green but with a lot of sunlight will tinge red around the edges.
A String of Buttons has a vertical growth habit as the stems are quite rigid. If exposed to enough sunlight, the triangular leaves stack closely on top of one another.

Locating nodes on a String of Buttons
Stem nodes on the crassula perforata will be found tucked just above existing leaves where they meet the stem. You can also apply the paste to the center of the uppermost leaves right at the tip of the stems.
A String of Buttons stems are somewhat thick, so scoring them is important for the paste to work as quickly as possible, especially on the lowest parts of the stem which turn brown and woody.
The photo below marks some of the stem nodes on this String of Buttons.

Optimal conditions for a string of buttons
A String of Buttons thrives in temperatures between 65 to 80°F. Make sure temperatures don’t approach freezing.
This plant prefers bright light, and if your plant’s leaves are growing further apart on the stem, it means the plant could do with a brighter situation.
Water only when the soil is completely dry. When you water, make sure you flood the roots so that the water starts running through the drainage holes of the pot. In summer you may be watering every few days, especially if you keep your plant outside. In the winter, you may only need to water once a month.
Like most succulents, String of Buttons do not need a lot of fertilizer, but give an additional dose mild dose after keiki paste application.
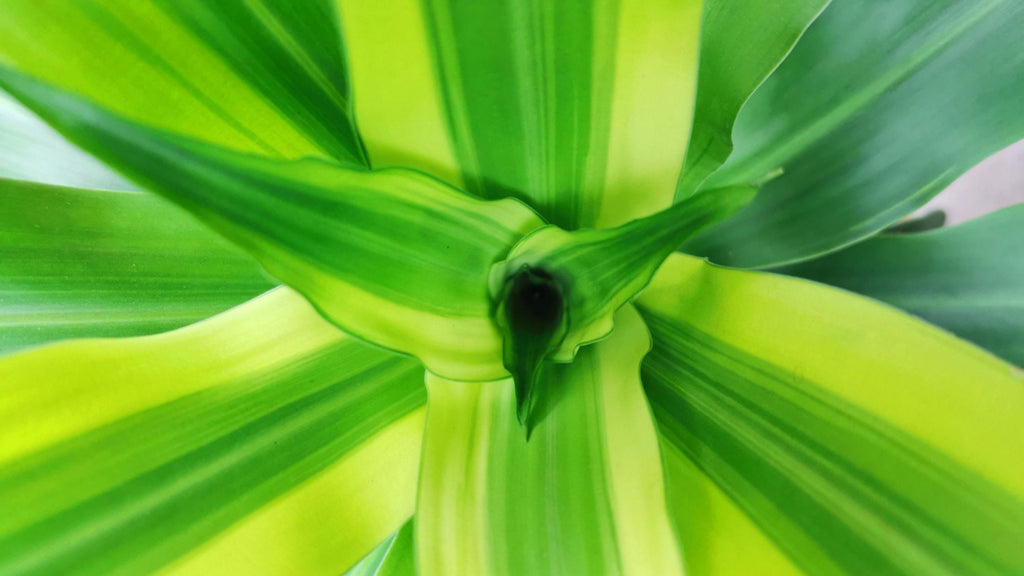
Does keiki paste work on a Green Ti plant?
Yes! You can achieve more of those beautiful dark leaves on your Green Ti plant using Keiki Paste.
The Green Ti plant looks very similar to the Dracaena, so much so that botanists used to classify them as part of the same Cordyline genus. However, the Dracaena has orange to yellow roots where the Green Ti has white roots.
The Green Ti Plant is extremely important to many indigenous cultures in Austronesia, the Pacific, New Zealand, Southeast Asia, and Papua New Guinea. Many cultures in these regions believe they hold souls inside them. Some believe that the Green Ti is a symbol of peace and healing. In New Guinea, they are planted to indicate property boundaries. The Ok-speaking people use it as a totem to represent their ethnic group.
The Green Ti plant is not as popular but it is very easy to care for, with bold elegant lines understated enough to suit any interior space.

Finding nodes on your Green Ti plant
Green Ti Plant nodes show up as slightly raised rings around the stem. These rings are a slightly paler green than the rest of the plant. Green Ti stems are quite thick so scoring them is important for the paste to work as quickly as possible.

The photo below below shows a wounded node applied with Keiki Paste.

Best conditions for Green Ti Plant
A green Ti Plants prefers bright, indirect light. A good position would be a South, East, or West-facing window with net curtains that filter the light. The temperature should be between 60°F and 75°F.
The soil should always be slightly damp - don’t ever let the soil dry out completely. This does not mean that you should constantly saturate the soil, however. Just stick your finger into the soil occasionally to check the uppermost levels are still moist.
As with most tropical houseplants, Green Ti prefers high humidity for optimal growing conditions.
Does keiki paste work on an umbrella plant?
Yes! You can use Keiki Paste (Heptaplerum arboricolum) to achieve a bushier Umbrella Plant ready for pruning and training.
With its sprightly bursts of foliage, the umbrella plant will bring cheer into any home. The Dwarf Umbrella plant used for this tutorial is a variegated variety with pale yellow markings on the leaves. The variegated plant is indistinguishable from the normal non-variegated variety except for the foliage color.

Locating nodes on an umbrella plant
Stem nodes on the Dwarf Umbrella Plant appear as little notches or indentations along the stem. You will see stems already growing from some of them. The photos below mark some of the nodes on my plant.


Optimal conditions for an Umbrella Tree
The umbrella tree prefers bright, indirect light. A good position would be a South, East, or West-facing window with net curtains that will filter the light. The temperature should be between 60°F and 75°F.
The Umbrella Tree is a tropical plant and prefers high humidity around 60 percent. This plant needs soil that is always slightly damp - don’t ever let the soil dry out completely. This does not mean that you should saturate the soil though - just stick your finger into the soil occasionally to check that the soil has some moisture in it.
While we likely haven't covered every plant in your collection, hopefully you're starting to get the picture. When it comes to what plants can you use keiki paste on, the answer is ALL OF THEM!
]]>


 How to Apply Keiki Paste - A Step-By-Step Guide
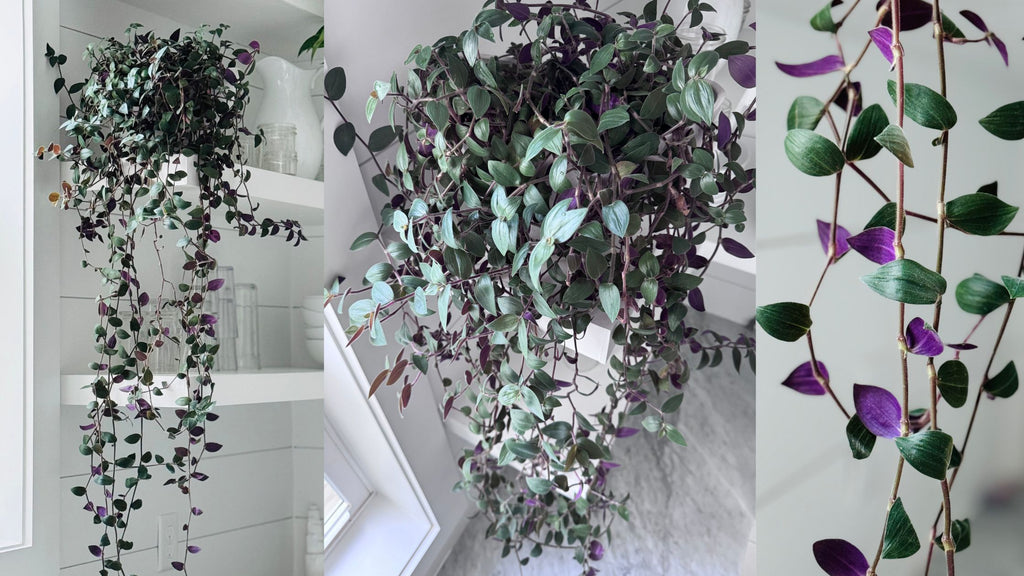


 What is Keiki Paste? The Ultimate Guide


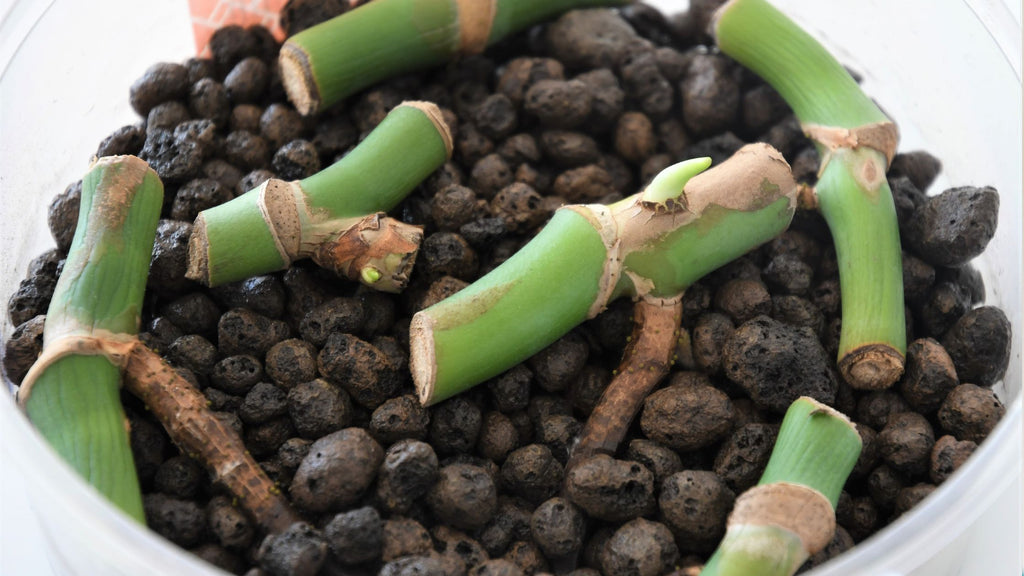
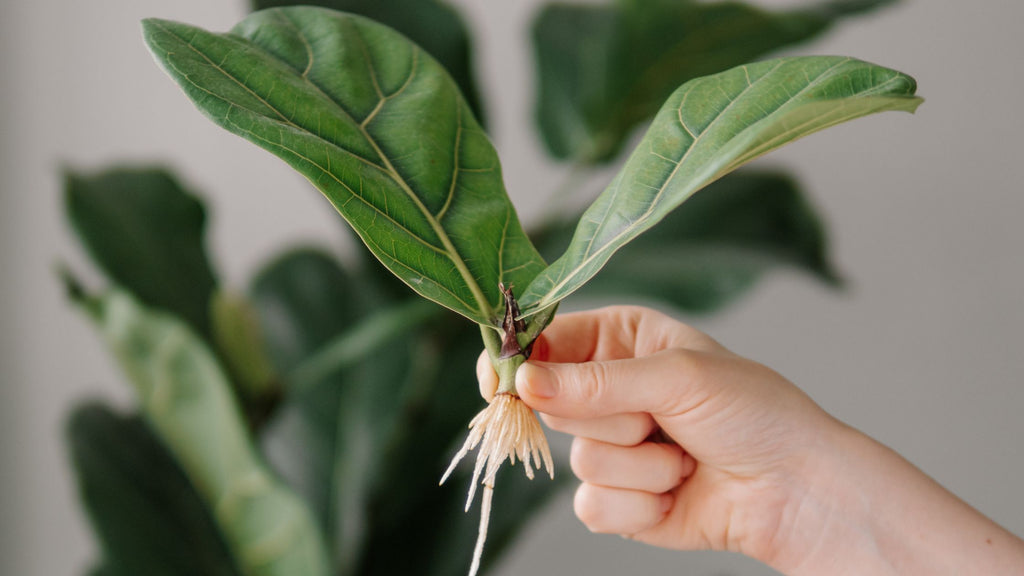
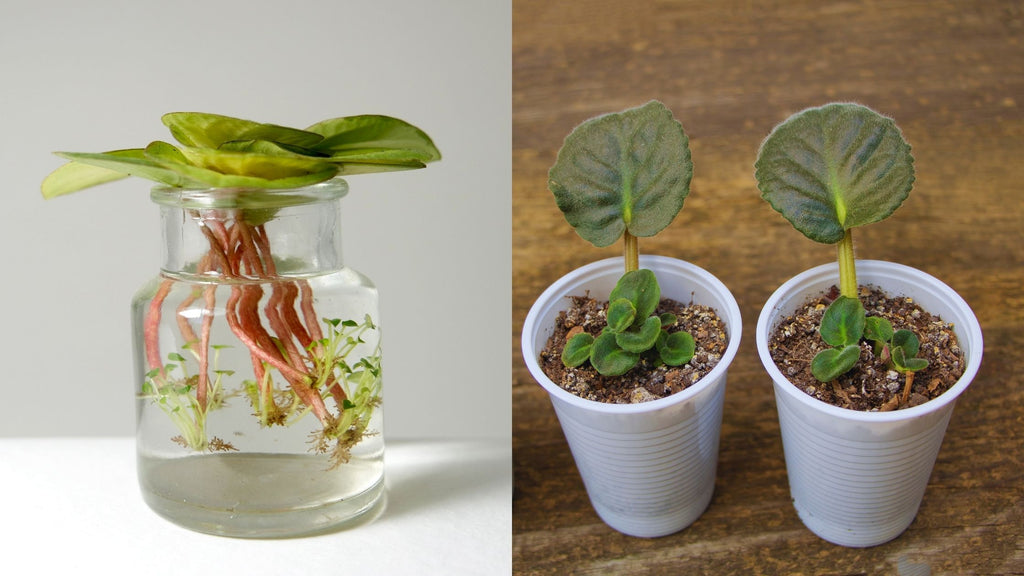
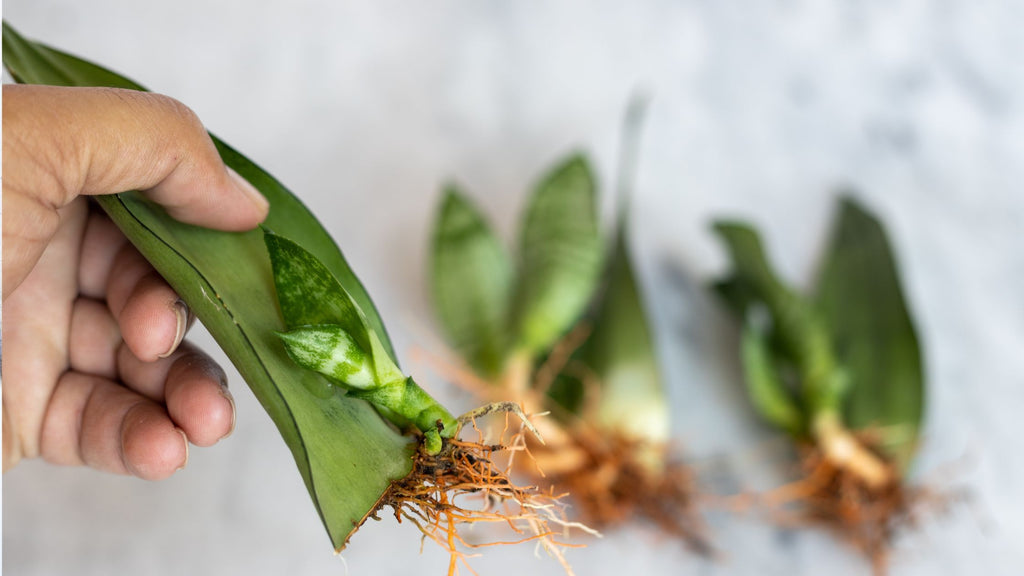
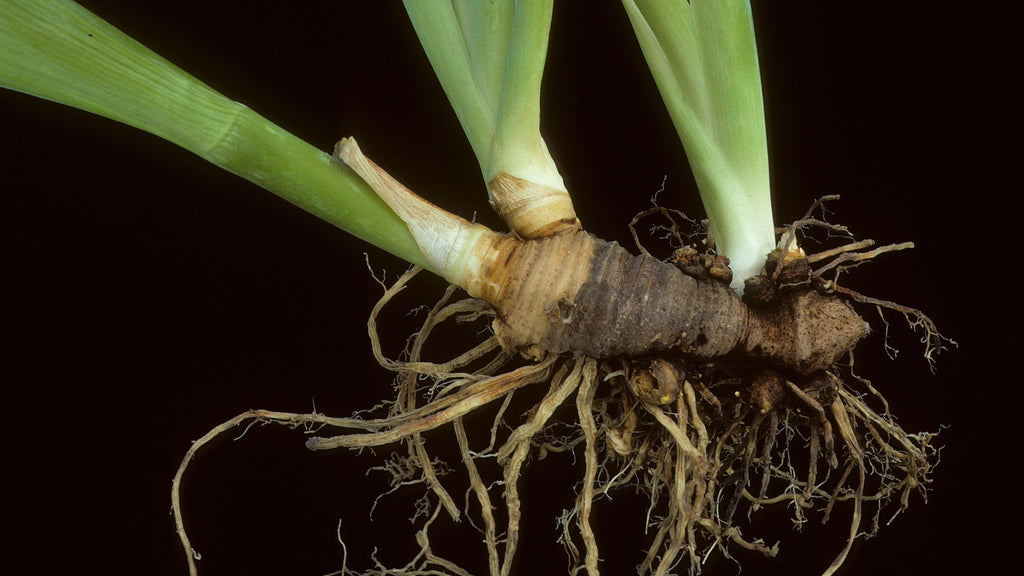 Propagation by division and offsets


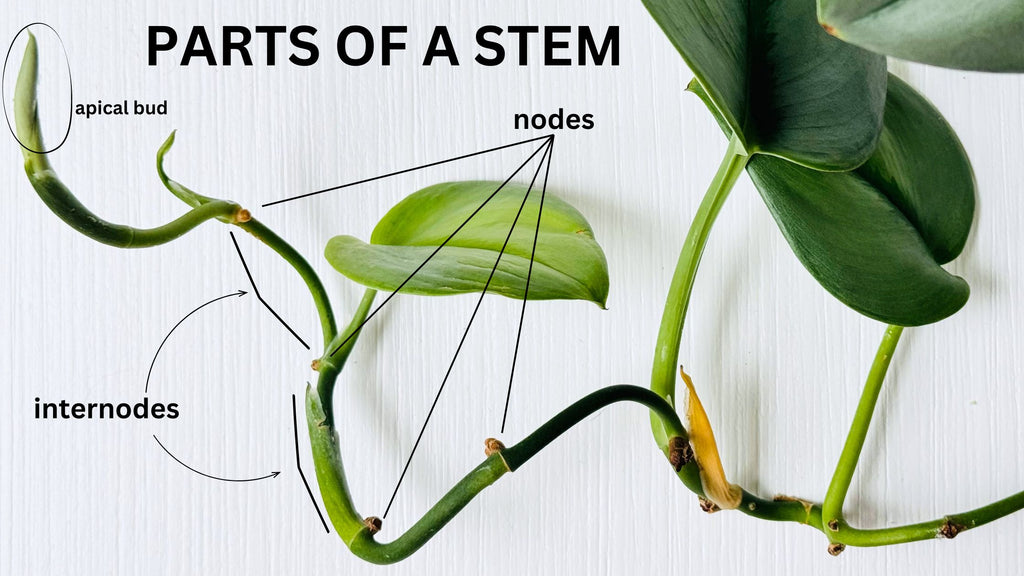 Identifying Nodes on a Plant for Pruning and Propagation
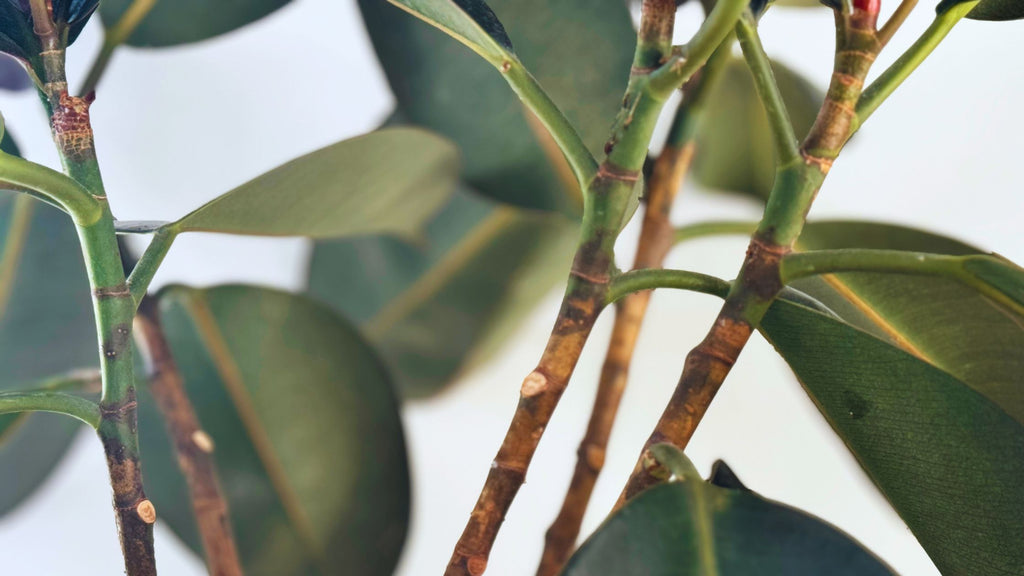


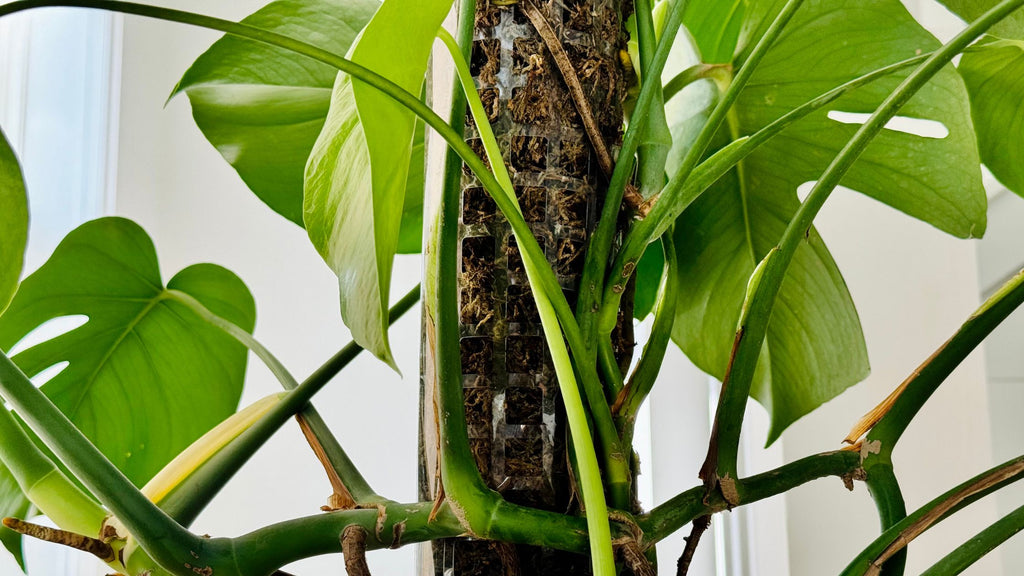
 Moss Poles for Plants
 What plants like moss poles?
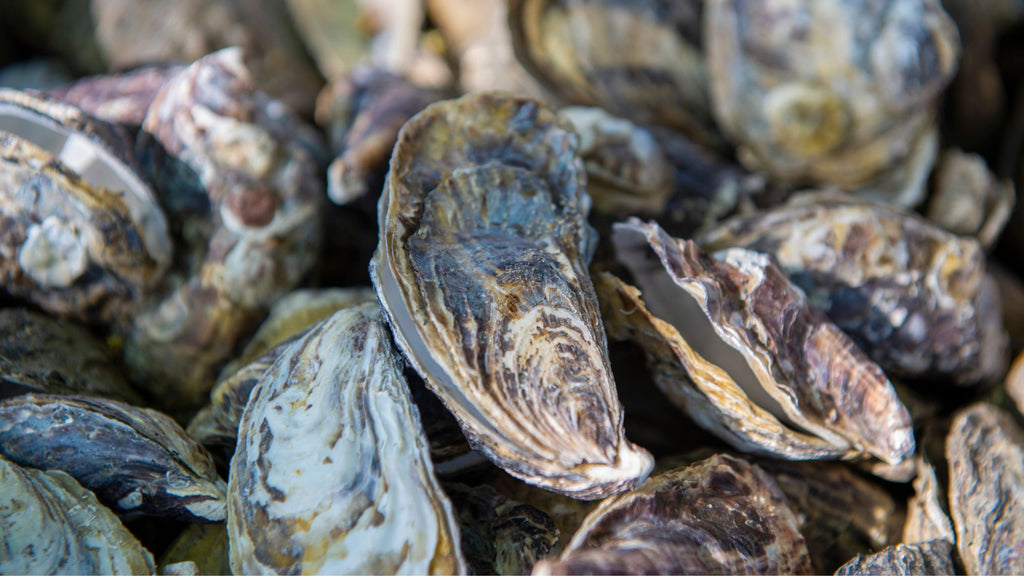 Oyster Shell Flour for Soil
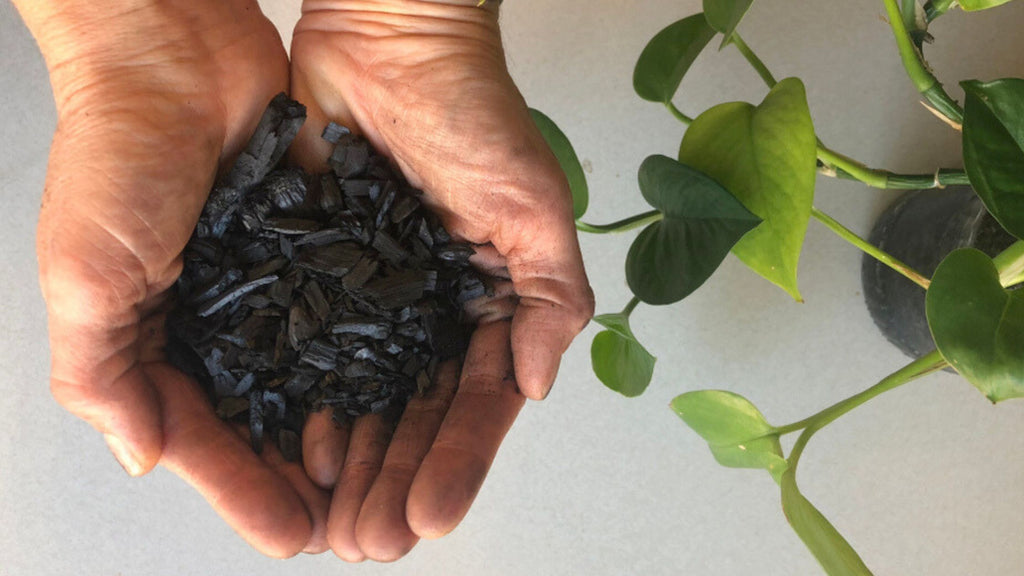 Charcoal for Plants
 Homemade Organic Nitrogen Fertilizer
 Phosphorus and Plants
 Homemade Potassium Fertilizer
 Mass Cane Plant Care
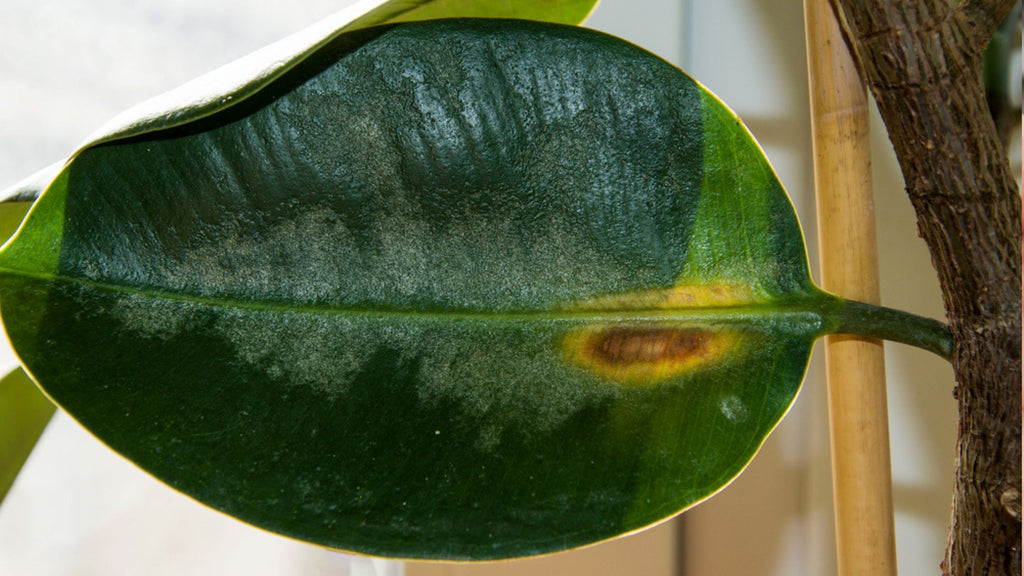 Why are there spots on leaves of my houseplants?
 Bacterial infection (Translucent spots on leaves)
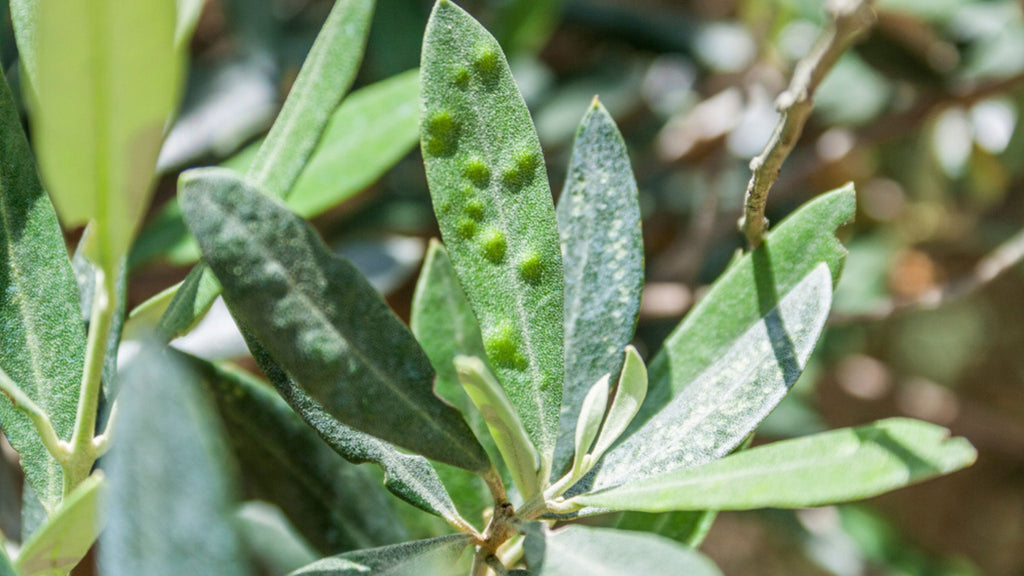
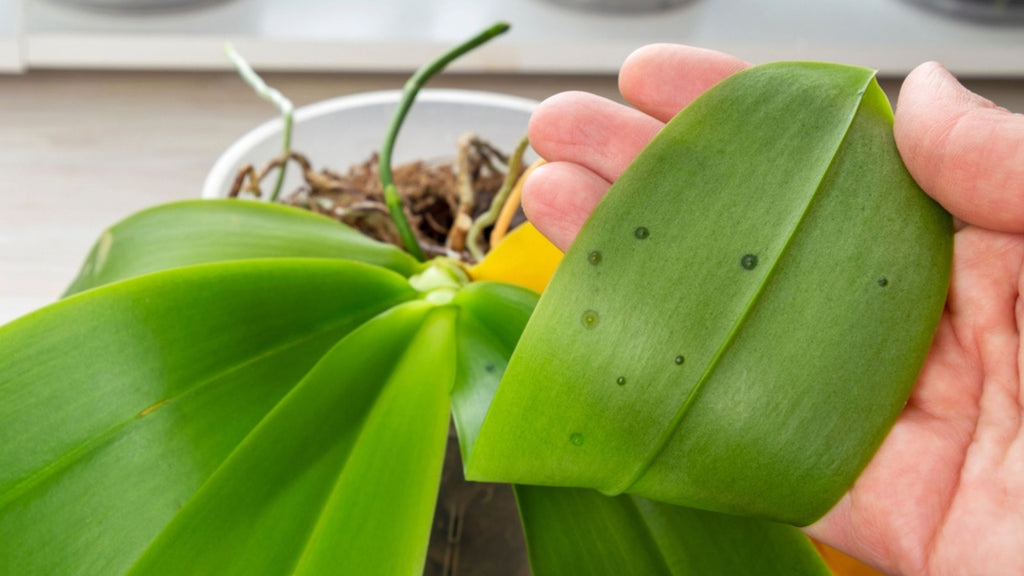 Overwatering (Raised brown bumps on leaves that can't be wiped off)
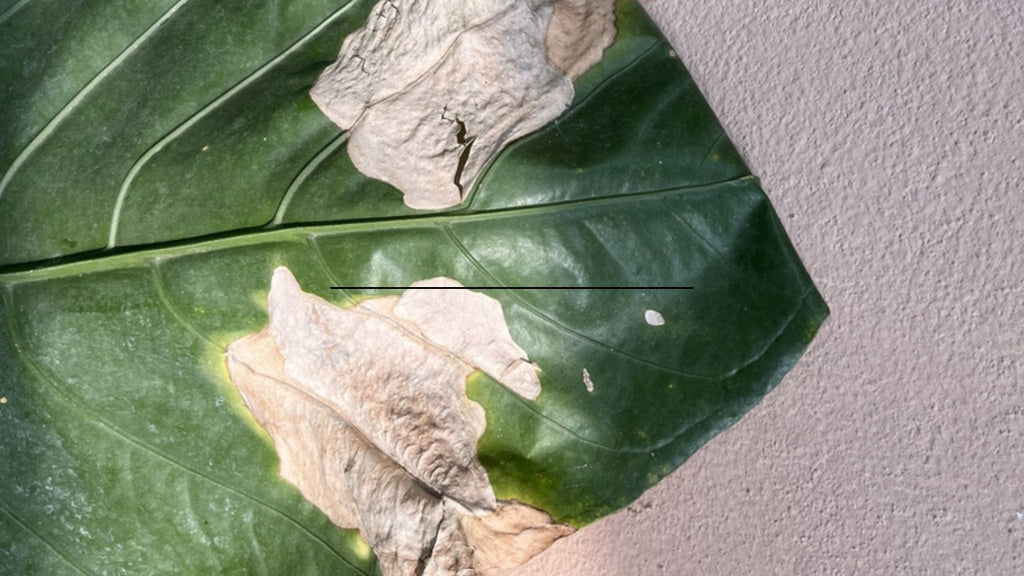 Cold water damage (white or yellow spots on leaves)
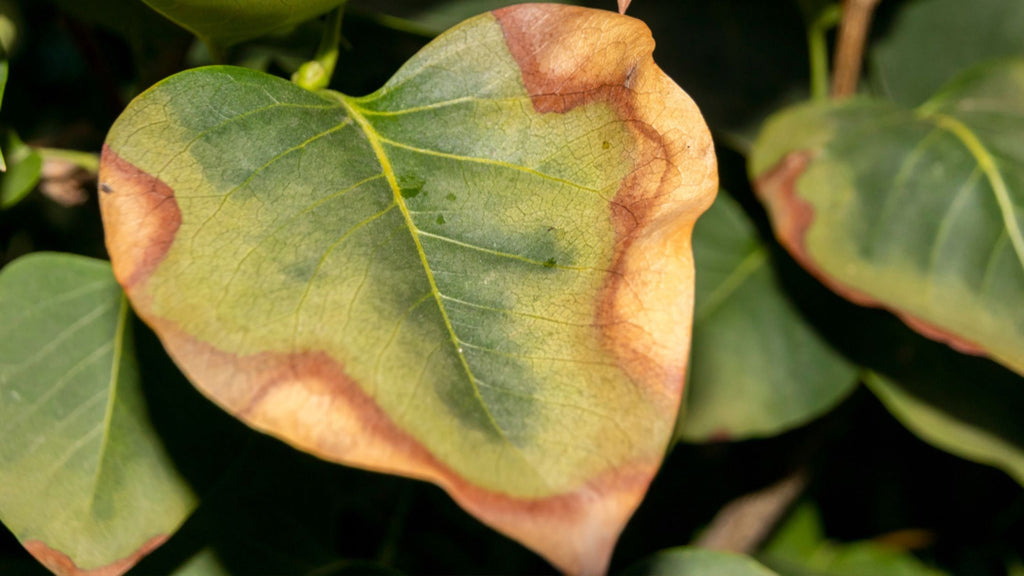
 Water marks on leaves
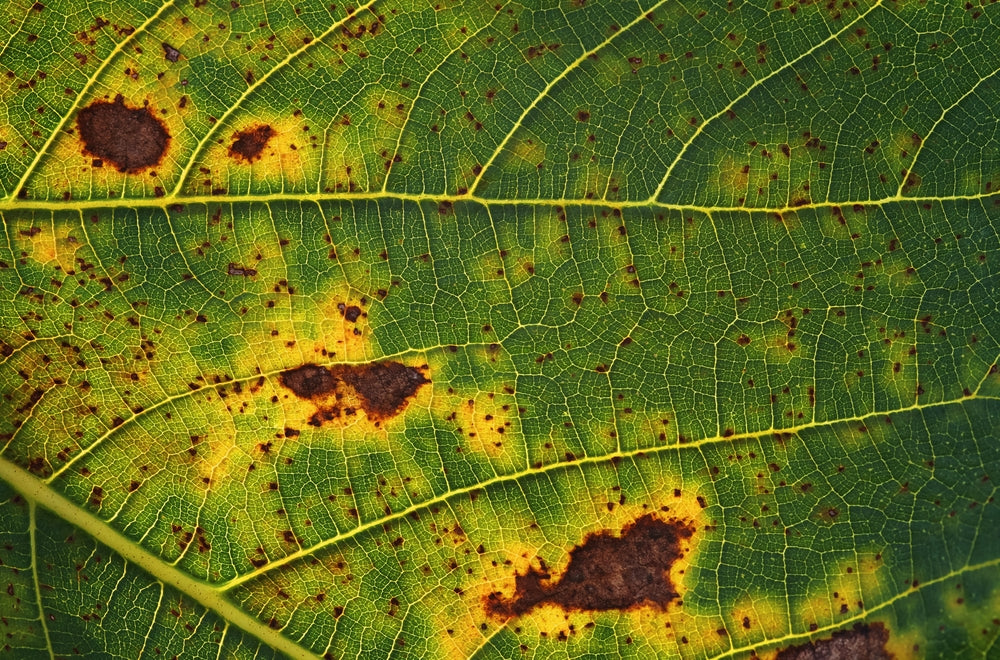
 Mineral deficiencies (leaf discoloration)
 Glacier Pothos Care Guide
 Ficus Elastica Ruby Care

 Ficus Yellow Gem Care
 Types of Rubber Plants & How to Care for Them